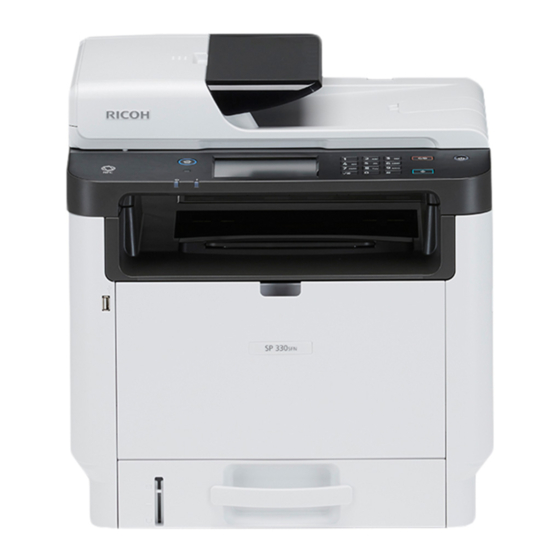
Ricoh SP 330SN Podręcznik - Strona 16
Przeglądaj online lub pobierz pdf Podręcznik dla Drukarka Ricoh SP 330SN. Ricoh SP 330SN 26 stron.

- 1. Setup Guide
- 2. Setting up the Machine
- 3. Installing the Software
- 4. Check How the Computer Is Connected
- 5. Use the Machine from a Smart Device
- 6. Connecting the Machine Via Wireless (Wi-Fi)
- 7. Connecting the Machine (Usb/Network)
- 8. Setting the Date and Time
- 9. Selecting the Telephone Line Type and Telephone Network Connection Type
- 10. Setting the Outside Line Access Number
- 11. Basic Operation for Sending a Fax
- 12. Scan Settings
"Failed to connect to access point." is displayed.
Press [OK] to return to the screen displayed in Step 7. Check the
configuration for the router (access point), then try the connection
again.
11. Configuring the Wireless (Wi-Fi) settings is complete.
12. To use the printer driver, install the printer driver according
to the procedure on page 17 "Easy Setup Using the
CD-ROM" and select "The machine's IP address has been
already configured." on step 6.
SP 330SN
● Make sure the Ethernet cable is not connected to the
machine.
● In Steps 9 to 11, configure each setting within two
minutes.
The following item is necessary to set up a Wireless
(Wi-Fi) connection.
● Router (access point)
1.
Check that the router (access point) is working correctly.
2.
Make sure the wireless LAN option is attached to the
machine and the wireless (Wi-Fi) connection is enabled.
For details, see page 10 "Attaching the wireless LAN option".
3.
Press the [User Tools] key.
4.
Press the [ ] or [ ] key to select [Network Settings], and
then press the [OK] key.
5.
If you are requested to enter a password, enter the
password using the number keys, and then press the [OK]
key.
A password for accessing the [Network Settings] menu can be
specified in [Admin. Tools Lock] under [Admin. Tools] menu.
6.
Press the [ ] or [ ] key to select [Wireless (Wi-Fi)], and
then press the [OK] key.
Network Settings
Wired (Ethernet)
Wireless (Wi-Fi)
IPv4 Configuration
7.
Press the [ ] or [ ] key to select [WPS], and then press the
[OK] key.
Wireless (Wi-Fi)
6 10
Current Connection
Input SSID
WPS
8.
Press the [ ] or [ ] key to select [PBC], and then press the
[OK] key.
WPS Type
PBC
PIN
14
DYG198
2 4
DYG205
DYG206
1 2
DSG092
9.
Press [Yes].
PBC
WPS PBC Connect ?
Yes
No
"Please push the [AP] within 2 minutes" appears, and the
machine starts to connect in PBC method.
10. Press the WPS button on the router (access point) within
two minutes.
WPS
• For details about how to use the WPS button, refer to the manuals for
the router (access point).
11. Check the result.
Connection has succeeded:
PBC
Connection to AP
has Succeeded
• Press [EXIT] to return to the screen displayed in Step 8, and
then press the [User Tools] key to return to the initial screen.
Connection has failed:
PBC
Connection to AP
has Failed
• Press [EXIT] to return to the screen displayed in Step 8. Check
the configuration for the router (access point), then try the
connection again.
12. Configuring the Wireless (Wi-Fi) settings is complete.
13. To use the printer driver, install the printer driver according
to the procedure on page 17 "Easy Setup Using the
CD-ROM" and select "The machine's IP address has been
already configured." on step 6.
DSG093
CHV607
EXIT
DSG094
EXIT
DSG095
