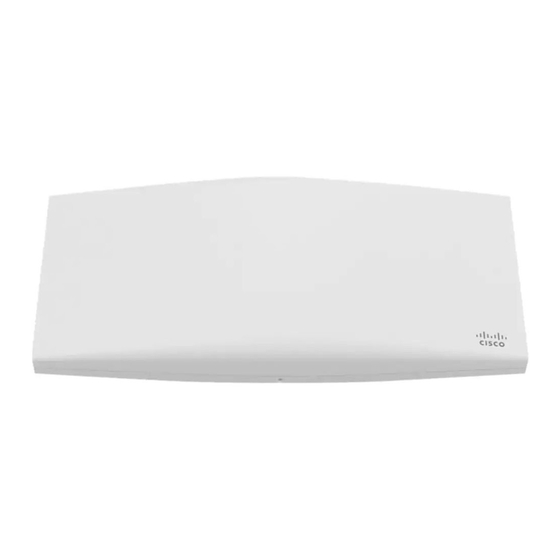
Cisco Meraki MR46 Instrukcja instalacji - Strona 14
Przeglądaj online lub pobierz pdf Instrukcja instalacji dla Bezprzewodowy punkt dostępowy Cisco Meraki MR46. Cisco Meraki MR46 18 stron.

Then adjust the MR46 AP to guide the AP's bottom slot into the cradle's bottom tab until it clicks into place. Once in
place, the MR46 AP should be secured to the cradle by using one of the included screws in the cradle's bottom tab.
To release the AP from the mount cradle, first remove the security screw that secures the MR46 AP to the cradle's
bottom tab. While holding the MR46 AP with one hand, press the cradle's bottom tab upwards, releasing the MR46
AP from the bottom of the cradle. Then remove the MR46 AP from the cradle's top tab.
Desk or Shelf Mount
The access point can both be placed on a desk or shelf resting on the non-scratch rubber feet. The mount cradle is not
necessary for a desk or shelf installation.
Physical Security
Depending on your mounting environment, you may want to secure the AP to its mount location. The access point can
both be secured in several ways. If the AP has been installed using the mount cradle, it should be secured via security
screw (Torx security screws are included) and/or Kensington lock. If the mount cradle was not used, the AP can still be
secured using a Kensington lock.
14
