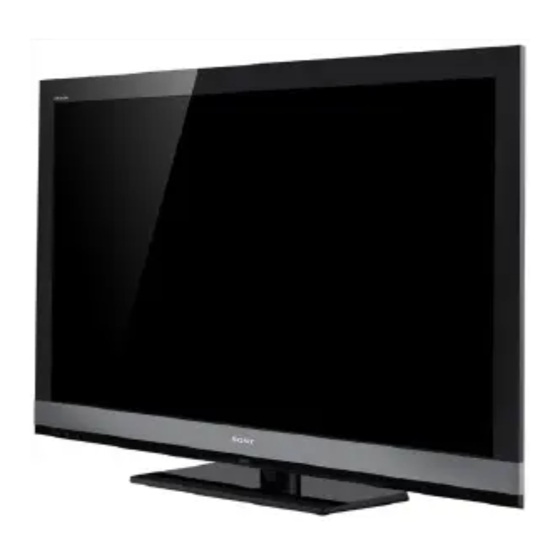
Sony AZ1-L CHASSIS Instrukcja serwisowa - Strona 12
Przeglądaj online lub pobierz pdf Instrukcja serwisowa dla TV Sony AZ1-L CHASSIS. Sony AZ1-L CHASSIS 42 stron.
Również dla Sony AZ1-L CHASSIS: Instrukcja serwisowa (33 strony)

SAFETY CHECK-OUT
After correcting the original service problem, perform the following safety checks before releasing the set to the customer:
1. Check the area of your repair for unsoldered or poorly soldered connections.
Check the entire board surface for solder splashes and bridges.
2. Check the interboard wiring to ensure that no wires are "pinched" or touching
high-wattage resistors.
3. Check that all control knobs, shields, covers, ground straps, and mounting
hardware have been replaced. Be absolutely certain that you have replaced
all the insulators.
4. Look for unauthorized replacement parts, particularly transistors, that were
installed during a previous repair. Point them out to the customer and
recommend their replacement.
5. Look for parts which, though functioning, show obvious signs of deterioration.
Point them out to the customer and recommend their replacement.
6. Check the line cords for cracks and abrasion. Recommend the replacement
of any such line cord to the customer.
7.
Check the antenna terminals, metal trim, "metallized" knobs, screws, and
all other exposed metal parts for AC leakage. Check leakage as described
below.
KDL-32EX700/40EX700/40EX703/46EX700/46EX701/46EX703/
52EX700/52EX701/52EX703/60EX700/60EX701/60EX703
To Exposed Metal
Parts on Set
0.15 μF
Earth Ground
Figure A. Using an AC voltmeter to check AC leakage.
AC
Voltmeter
(0.75V)
6
