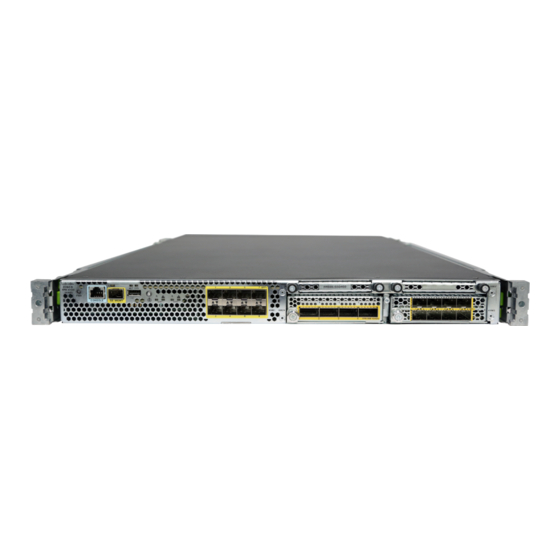
Cisco Firepower 4120 Podręcznik konserwacji i aktualizacji - Strona 13
Przeglądaj online lub pobierz pdf Podręcznik konserwacji i aktualizacji dla Sprzęt sieciowy Cisco Firepower 4120. Cisco Firepower 4120 20 stron. Rack-mount and ground the chassis
Również dla Cisco Firepower 4120: Podręcznik (36 strony), Podręcznik (26 strony), Podręcznik (8 strony), Podręcznik (42 strony), Pierwsze kroki (42 strony)

Maintenance and Upgrade
Note
Note
This procedure describes how to install the DC power supply input power leads to the Firepower 4100 DC
input power supply on the rear PDU of the chassis.
Step 1
Install the DC power supply module in the chassis and make note of the bay number so you can connect the wiring to
the correct terminals on the DC power supply module at the rear of the chassis. See
Supply Module, on page 8
Step 2
Verify that the power is off to the DC circuit on the power supply module that you are installing.
Step 3
Make sure that all site power and grounding requirements have been met.
Step 4
To remove the plastic cover from the terminal block, insert a flat screw driver on the side of the plastic cover and pry
it off.
• 10-mm wrench or socket
• Connectors and wire for the DC circuit or circuits
Each DC input power cable is terminated at the PDU by a cable lug, as shown in the following figure.
DC input power cables must be connected to the PDU terminal studs in the proper positive (+) and
negative (–) polarity. In some cases, the DC cable leads are labeled, which is a relatively safe indication
of the polarity. However, you must verify the polarity by measuring the voltage between the DC cable
leads. When making the measurement, the positive (+) lead and the negative (–) lead must always match
the (+) and (–) labels on the power distribution unit.
Figure 5: DC Input Power Cable Lug
To avoid hazardous conditions, all components in the area where DC input power is accessible must be
properly insulated. Therefore, before installing the DC cable lugs, be sure to insulate the lugs according
to the manufacturer's instructions
for the procedure.
Connect the DC Power Supply Module
Remove and Replace the Power
Maintenance and Upgrade
13
