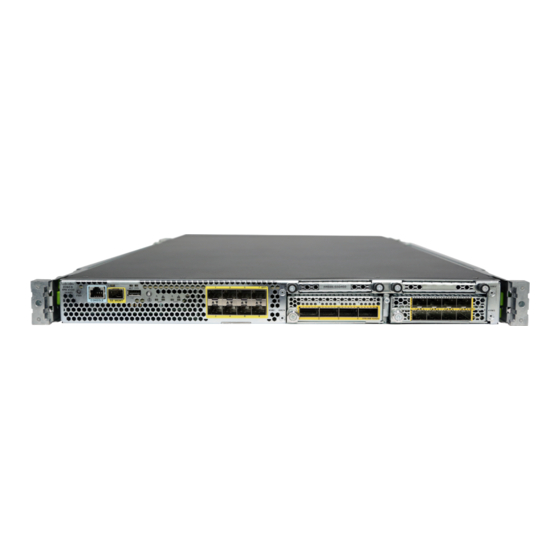
Cisco Firepower 4150 Pierwsze kroki - Strona 24
Przeglądaj online lub pobierz pdf Pierwsze kroki dla Sprzęt sieciowy Cisco Firepower 4150. Cisco Firepower 4150 42 stron. Rack-mount and ground the chassis
Również dla Cisco Firepower 4150: Podręcznik konserwacji i aktualizacji (20 strony), Podręcznik (36 strony), Podręcznik (26 strony), Podręcznik (8 strony), Podręcznik (42 strony)

Complete the Initial Configuration Using the Setup Wizard
You must complete these steps to continue.
Step 3
Configure the following options for the outside and management interfaces and click Next.
Caution
Outside Interface
• Configure IPv4—The IPv4 address for the outside interface. You can use DHCP or manually enter a
static IP address, subnet mask, and gateway. You can also select Off to not configure an IPv4 address.
Do not configure an IP address on the same subnet as the default inside address (see
Prior to Initial Setup, on page
the setup wizard. PPPoE may be required if the interface is connected to a DSL modem, cable modem,
or other connection to your ISP, and your ISP uses PPPoE to provide your IP address. You can configure
PPPoE after you complete the wizard. See
• Configure IPv6—The IPv6 address for the outside interface. You can use DHCP or manually enter a
static IP address, prefix, and gateway. You can also select Off to not configure an IPv6 address.
Management Interface
• DNS Servers—The DNS server for the system's management address. Enter one or more addresses of
DNS servers for name resolution. The default is the OpenDNS public DNS servers, or the DNS servers
you obtain from the DHCP server. If you edit the fields and want to return to the default, click Use
OpenDNS to reload the appropriate IP addresses into the fields. Your ISP might require that you use
specific DNS servers. If after completing the wizard, you find that DNS resolution is not working, see
Troubleshooting DNS for the Management
• Firewall Hostname—The hostname for the system's management address.
Step 4
Configure the system time settings and click Next.
• Time Zone—Select the time zone for the system.
• NTP Time Server—Select whether to use the default NTP servers or to manually enter the addresses
of your NTP servers. You can add multiple servers to provide backups.
Step 5
Configure the smart licenses for the system.
You must have a smart license account to obtain and apply the licenses that the system requires. Initially, you
can use the 90-day evaluation license and set up smart licensing later.
To register the device now, select the option to register the device, click the link to log into your Smart Software
Manager account, generate a new token, and copy the token into the edit box. You must also select your
services region, and decide whether to send usage data to the Cisco Success Network. The on-screen text
explains these settings in more detail.
If you do not want to register the device yet, select the evaluation mode option. The evaluation period last up
to 90 days. To later register the device and obtain smart licenses, click Device, then click the link in the Smart
Licenses group.
Step 6
Click Finish.
Getting Started
24
Your settings are deployed to the device when you click Next. The interface will be named
"outside" and it will be added to the "outside_zone" security zone. Ensure that your settings are
correct.
26), either statically or through DHCP. You cannot configure PPPoE using
Configure a Physical
Interface.
Interface.
Getting Started
Default Configuration
