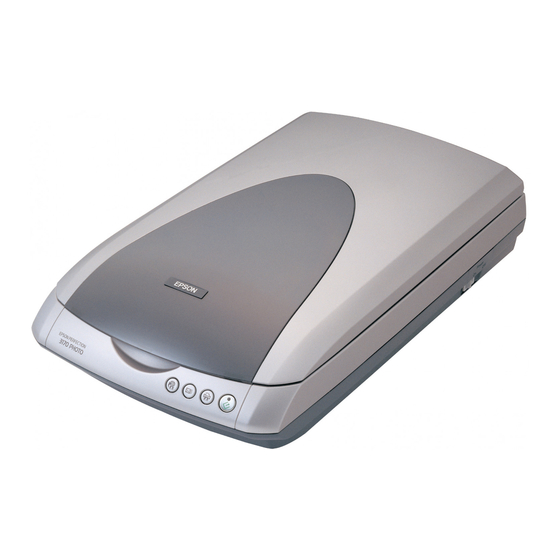
Epson 3170 - Perfection Photo Biuletyn wsparcia produktu - Strona 14
Przeglądaj online lub pobierz pdf Biuletyn wsparcia produktu dla Skaner Epson 3170 - Perfection Photo. Epson 3170 - Perfection Photo 14 stron. Scanning tips and troubleshooting guide
Również dla Epson 3170 - Perfection Photo: Biuletyn wsparcia produktu (34 strony), Podręcznik użytkownika (6 strony), Zacznij tutaj (4 strony), Biuletyn wsparcia produktu (23 strony), Podręcznik (11 strony), Biuletyn wsparcia produktu (40 strony), Biuletyn wsparcia produktu (17 strony), Biuletyn wsparcia produktu (24 strony), Biuletyn wsparcia produktu (29 strony), Biuletyn wsparcia produktu (8 strony), Ważne instrukcje bezpieczeństwa (4 strony), Biuletyn wsparcia produktu (3 strony), Biuletyn wsparcia produktu (18 strony), Biuletyn wsparcia produktu (12 strony), Biuletyn wsparcia produktu (40 strony), Biuletyn wsparcia produktu (40 strony), Biuletyn wsparcia produktu (22 strony), Biuletyn wsparcia produktu (12 strony), Biuletyn wsparcia produktu (21 strony), Instrukcja rozwiązywania problemów (12 strony)

