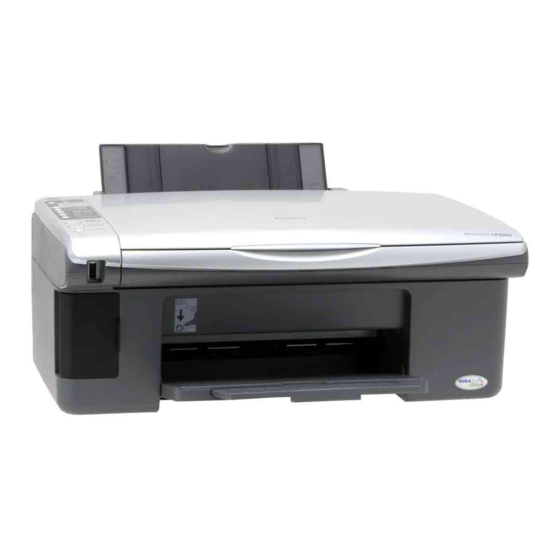
Epson CX5000 - Stylus Color Inkjet Podręcznik - Strona 8
Przeglądaj online lub pobierz pdf Podręcznik dla Skaner Epson CX5000 - Stylus Color Inkjet. Epson CX5000 - Stylus Color Inkjet 19 stron. Epson scan icm updater v1.20 (psb.2008.07.001)
Również dla Epson CX5000 - Stylus Color Inkjet: Podręcznik Start Here (8 strony), Podręcznik Start Here (8 strony), Aktualizacja (1 strony), Skrócona instrukcja obsługi (4 strony)

Epson Stylus CX5000 Series
To make a black and white copy, press the x
button.
The
light flashes and after a moment the CX5000 Series
On
starts printing.
If you need to stop copying at any time, just press the
button. Do not pull out paper that is being printed; it will be
ejected automatically to the output tray.
Note:
The copies may not be exactly the same size as the original.
Making 10 or More Copies
1. Make sure the CX5000 Series is turned on.
2. Place the photo on the glass as described on page 6. Be sure
to close the document cover.
3. Press the
button until you see "
Copies
window. This tells the CX5000 Series to print up to
100 copies.
4. Load enough paper for the number of copies (up to 100
sheets of plain paper) you want to make. For example, to
print 12 copies, load 12 sheets of paper.
5. Press the paper type button to select
.
Paper
6. Press the paper size button to select
.
5"x 7"
7. Press the x
Start Color
The CX5000 Series makes copies until it runs out of paper.
Then the red
light comes on.
b Error
8. To make more copies, load more paper and press the
button to resume.
Start Color
x
If you don't need any more copies, press the y
button.
Note:
When making a lot of copies, it is a good idea to remove the printed
copies from the output tray after every 10 sheets or so.
Making a Quick Copy
If you want to make a copy quickly and do not need high
quality, you can print a "draft" copy. The print quality is
reduced, but the copy is printed faster.
1. Load plain, letter-size paper and select
size on the control panel.
Letter
2. When you are ready to copy, press and hold down the
button, then press the x
y
Stop
copy in color) or the x
and white). When the
On
buttons.
8
Start B&W
" in the
–
Copies
or
Plain Paper
,
, or
Letter
4"x 6"
or x
button.
Start B&W
Stop
Plain Paper
button (to
Start Color
button (to copy in black
Start B&W
light starts flashing, release both
Printing From a Memory Card
Inserting the Card
Stop
1. Make sure the CX5000 Series is turned on.
y
Note:
When you print directly from a memory card, it is best if the
CX5000 Series is not connected to your computer (or your
computer should be turned off). If you see a message on your
computer screen when you insert a card in the CX5000 Series,
just cancel the operation and close the screen.
2. Open the memory card door.
3. Make sure the memory card access light is off and that no
cards are in any of the slots. Then insert your card into the
correct slot. The memory card access light flashes and then
stays on.
Photo
Insert just one card at a time (it won't go in all the way)
Left slot
Slot
Left slot
and
Right slot
*
Adapter required
6/06
Right slot
Memory card
access light
Type of card
SD
SDHC
miniSD*
miniSDHC*
microSD*
microSDHC*
MultiMediaCard
Memory Stick
Memory Stick Duo*
Memory Stick PRO
Memory Stick PRO Duo*
MagicGate Memory Stick
MagicGate Memory Stick Duo*
xD-Picture Card
xD-Picture Card Type H
xD-Picture Card Type M
CompactFlash
Microdrive
