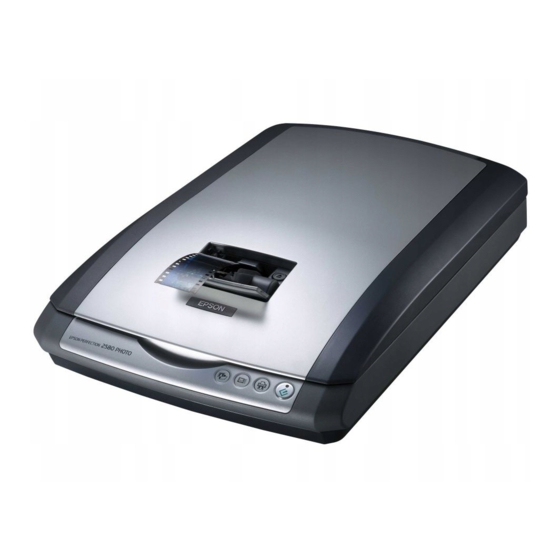
Epson Perfection 2580 Photo Skrócona instrukcja obsługi - Strona 2
Przeglądaj online lub pobierz pdf Skrócona instrukcja obsługi dla Skaner Epson Perfection 2580 Photo. Epson Perfection 2580 Photo 8 stron. Epson perfection 2580: product information
Również dla Epson Perfection 2580 Photo: Biuletyn wsparcia produktu (1 strony), Podręcznik użytkownika (6 strony)

2
If you're using Mac
double-click the Epson icon.
If you're using Mac OS 9.x, double-click the Epson icon.
3
Click Continue, then read the license agreement and click Agree.
4
At the Software Installation screen, click Install. Enter your Macintosh
Administrator name and password as necessary during installation.
5
Follow the on-screen instructions to install each program. Click Next or
Finish (Windows) or Install or Quit (Macintosh) as needed. Note that
Epson Smart Panel™ installs in several steps.
Note: If you're installing on Macintosh OS 9.x, you may see a prompt to
update your Carbon Library. After installing it and restarting your system,
double-click the Epson icon, then click Install to continue.
6
At the end of the installation, click Exit.
7
At the Product Registration screen, register your scanner as instructed.
Connect the Scanner
After your software is installed, it's time to connect your scanner.
1
Remove the sticker wrapped
around the front of the scanner
covering the transportation lock
on the bottom.
Caution: Don't turn the scanner
over to access the lock or you
may damage the scanner.
2
Slide the transportation lock
to the unlock position.
3
Remove the yellow sticker.
4
Connect the cable for the built-in transparency unit (scanner cover).
5
Plug the square end of the USB cable into the scanner's USB port. Then
plug the flat end into any available USB port on your computer or hub.
Note: Your scanner may not work correctly if you use a USB cable other
than the one supplied by Epson or connect it through more than one hub.
®
OS X, double-click the Mac OS X folder, then
Click Install
Remove
sticker
