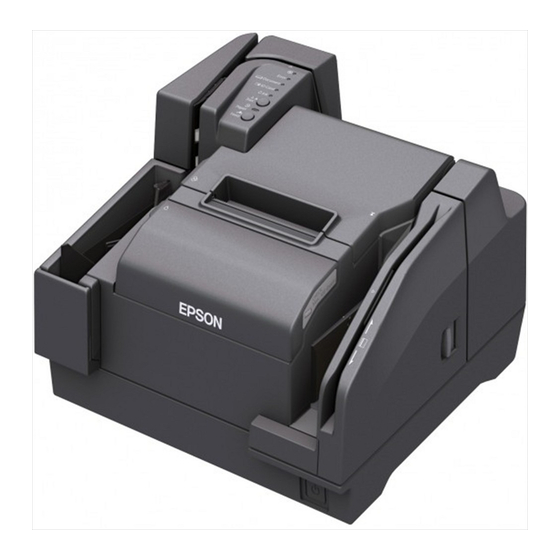
Epson TM-S9000MJ Podręcznik użytkownika - Strona 12
Przeglądaj online lub pobierz pdf Podręcznik użytkownika dla Skaner Epson TM-S9000MJ. Epson TM-S9000MJ 25 stron.
Również dla Epson TM-S9000MJ: Instrukcja konfiguracji (2 strony), Instrukcja konfiguracji (2 strony), Zacznij tutaj (2 strony)

CAUTION:
Never take the following actions during
•
Tilting the product
•
Opening the covers
•
Turning off the power
Doing so will cause a significant amount of ink to be consumed.
7.
Make sure
Test Printing
After the product setup or when the product is not operating correctly, you can check the
product operation with test printing. If the product performs pattern printing when you follow
the steps below, the product is operating normally.
Test Printing on Roll Paper
Make sure all the covers are closed, and while pressing the Feed button, turn on the product.
After the product prints its status and the Paper LED flashes, turn off the product to exit the
test printing or press the Feed button again to restart the test printing.
If you restart the test printing, test printing is completed when
"*** completed***" is printed after a certain amount of printing.
Test Printing on Cut Sheet Paper
Note:
•
For test printing on cut sheet paper, use the included cut sheet paper (normal paper of 70
mm {2.76"} width and 152 mm {5.98"} long or larger).
•
Do not use thermal roll paper.
•
If the check doesn't feed correctly, perform the self-test using 3 of the provided new cut
sheets. If the printer has not been used for three months or more, please perform this self-test
print procedure, and repeat until the unit feeds correctly.
Make sure all the covers are closed, and while pressing the cleaning button, turn on the
product. After the Document LED flashes, set 3 pieces of cut sheet paper in the ASF. (For how
to set the cut sheet paper, see "Inserting Cut Sheet Paper" on page 13.)
Test printing is completed when "*** completed***" is printed after a certain amount of
printing.
When printout is faint
When printout of "Nozzle Check Pattern" is faint or uneven as the illustration below, the print
head may need to be cleaned.
A B C
See "Cleaning the Print Head" on page 16 to clean the print head.
(Power) LED turns on after flashing.
(Power) LED flashes.
Nozzle Check Pattern
12
