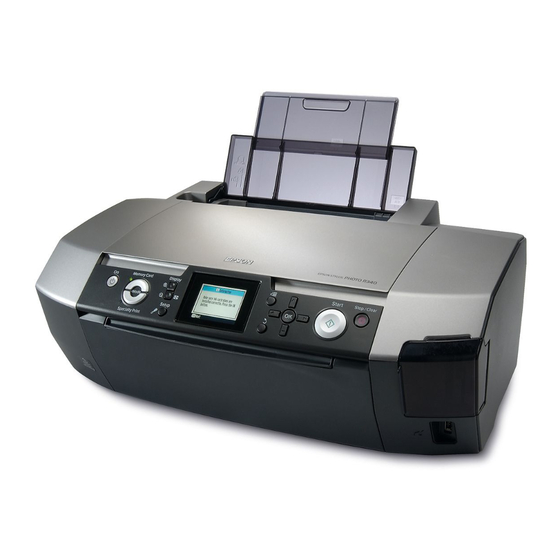
Epson R340 - Stylus Photo Color Inkjet Printer Podstawowa instrukcja obsługi - Strona 15
Przeglądaj online lub pobierz pdf Podstawowa instrukcja obsługi dla Akcesoria do drukarek Epson R340 - Stylus Photo Color Inkjet Printer. Epson R340 - Stylus Photo Color Inkjet Printer 40 stron. C11c607011
Również dla Epson R340 - Stylus Photo Color Inkjet Printer: Specyfikacje (2 strony), Podręcznik (13 strony), Podręcznik Start Here (9 strony), Skrócona instrukcja obsługi (4 strony), Instrukcja obsługi (4 strony)

3.
Press the
Print Settings button to open the
menu. Make the Layout setting and press the OK
button.
You can select the following layout options when
printing on a CD/DVD.
1-up
One photo will be printed on the
CD/DVD, centered on the hole in the
middle of the disc.
4-up
Four photos will be printed on the
CD/DVD, with one photo in each of
the four quarters.
8-up
8 photos will be printed on the
CD/DVD, arranged in a circle around
the outer edge of the disc.
12-up
12 photos will be printed on the
CD/DVD, arranged in a circle around
the outer edge of the disc.
4.
Press the l or r button to select the photos you
want to print.
5.
Press the u button to specify the number of copies
for each photo if you selected the 4-up, 8-up, or
12-up option for the Layout setting.
Note:
❏ To select more than one photo, repeat steps 4 and 5 to
select other photos and the number of times to print them.
❏ The total number of images that will be printed is displayed
at the bottom of the LCD display.
❏ When selecting photos for the 4-up, 8-up, or 12-up layout
setting, you can select a number of photos less than the
total. Unused areas of the layout will be left blank. If you
specify a number of photos greater than will fit on one
CD/DVD, the extra images will be added to a layout for an
extra CD/DVD and the printer will ask you to load another
CD/DVD after printing the CD/DVD.
❏ You can confirm the print settings by pressing the OK
button.
6.
Adjust the printing area (inside and outside
diameter) if needed. For details, see the following
section.
7.
Press the x Start button to print.
Note:
❏ We recommend that you print a test of the layout on a test
CD/DVD, before printing on a real CD/DVD.
❏ Allow CDs and DVDs to dry for 24 hours.
❏ If necessary, you can adjust the print position. See "If the printing
is misaligned" on page 15 for details.
❏ If an error message appears on the LCD panel, follow the
instructions on the LCD panel to clear the error.
Adjusting the printing area
Follow the steps below to adjust the diameter of the
printing area on a CD or DVD.
1.
Press the q Setup button to open the Setup menu.
2.
To adjust the inside diameter of the printing area,
select CD/DVD Position Inside. To adjust the
outside diameter of the printing area, select
CD/DVD Position Outside, then press the r
button.
3.
Set the appropriate value. You can adjust the
inside diameter between 18 to 46 mm, and the
outside diameter between 114 to 120 mm, at
intervals of 1 mm.
4.
Press the OK button to set the changes you made
and return to the Setup menu.
If the printing is misaligned
Follow the steps below to adjust the print position, if
necessary.
1.
Press the q Setup button to open the Setup menu.
2.
To move the image up or down, select CD/DVD
Position Up/Down. To move the image to the left
or right, select CD/DVD Position Left/Right, then
press the r button.
3.
Select the amount to move the image. Set a minus
quantity (d button) when moving the image down
or left, or a plus quantity (u button) when moving
it up or right. Then press the OK button.
You can select from -2.0mm to 2.0mm.
4.
Press the OK button to set the changes you made
and return to the Setup menu.
Note:
The printer remembers the print adjustment setting even after it has
been turned off, so you do not need to adjust the position each time
you use the CD/DVD function.
Other Creative Printing Options
15
