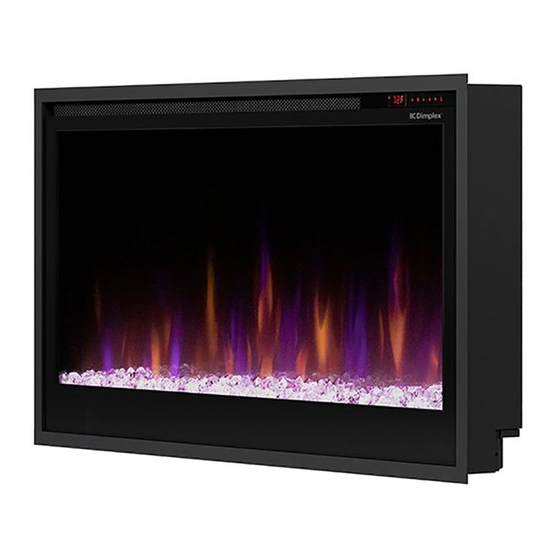
Dimplex 6910470100 Instrukcja serwisowa - Strona 7
Przeglądaj online lub pobierz pdf Instrukcja serwisowa dla Kominek wewnętrzny Dimplex 6910470100. Dimplex 6910470100 17 stron.

Heater Assembly Replacement
Tools Required: Phillips Head Screwdriver
Side Cutters
Pliers
1. Follow the instructions for Preparing the Firebox for Service on page 6.
2. Remove the center rail (number of screws will vary by model.)
3. Remove the 4 screws that hold the electronics cover panel.
4. Remove the 2 screws on each heater assembly bracket (4 screws total).
5. Trace the 4 wires from the defective heater assembly to the relay board. Disconnect the wiring connections, making
note of their original locations. Cut any restrictive wire ties.
6. Position the new heater assembly and secure it using the brackets and screws previously removed.
7. Connect the wires from the new heater assembly to their correct locations on the relay board.
8. Reassemble the fireplace.
Figure 5
Figure 6
(Figure 5)
(Figure 5)
(Figure 6)
Electronics
Cover Panel
Center Rail
7
