Epson Perfection 1670 Photo Instrukcja serwisowa - Strona 18

Przeglądaj online lub pobierz pdf Instrukcja serwisowa dla Oprogramowanie Epson Perfection 1670 Photo. Epson Perfection 1670 Photo 46 stron. Color image scanner
Również dla Epson Perfection 1670 Photo: Informacje o produkcie (7 strony), Instrukcja obsługi (9 strony), Podręcznik (11 strony), Aktualizacja (1 strony), Biuletyn wsparcia produktu (17 strony), Biuletyn wsparcia produktu (12 strony), Ważne instrukcje bezpieczeństwa (4 strony), Broszura i specyfikacje (2 strony)
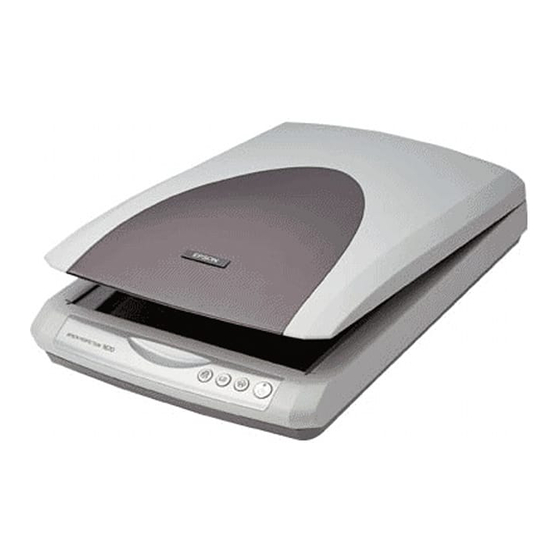
Epson Perfection 1670 Photo Instrukcja serwisowa
EPSON Perfection 1670 Photo/Perfection 1270

2.2.3 Removal of I/F Board

1.
Remove the Upper Housing. (Refer to 2.2.2)
2.
Disconnect the CR Motor Connector Cable and Panel FFC from the I/F Board.
3.
In the order shown in Figure 2-10, unlock the Harness Locking Mechanism and
disconnect the Carriage FFC from the I/F Board.
4.
Remove the three screws (CBP M3x8) shown in Figure 2-11, and remove the
following parts.
1.
Shield Plate for I/F Board (Upper side)
2.
I/F Board
3.
Shield Plate for I/F Board (Lower side)
Figure 2-9. Disconnection of CR Motor Connector Cable and Panel FFC
DISASSEMBLY/ASSEMBLY
CR Motor Connector Cable
Panel FFC
Disassembly Procedure
I/F Board
Step 3-1)
Figure 2-10. Disconnection of Carriage FFC
Shield Plate for I/F Board (Upper side)
I/F Board
Shield Plate for I/F Board (Lower side)
Figure 2-11. Removal of I/F Board
Revision B
Carriage FFC
Step 3-1)
Step 3-2)
CBP (M3x8)
Tightening torque 6-8kgfcm
18