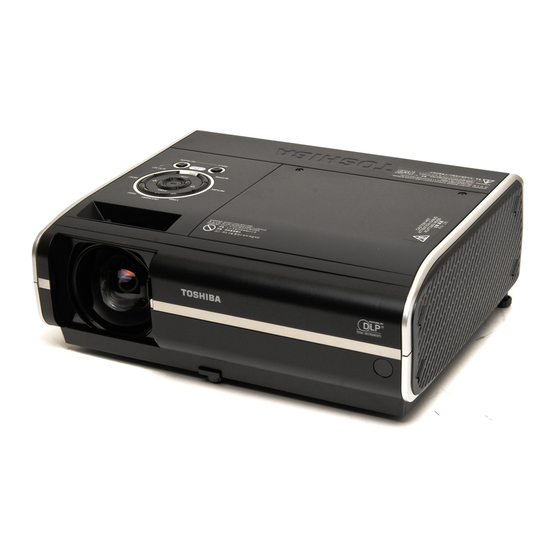
Toshiba TDP-EX20U - Short Throw DLP Projector Instrukcja obsługi - Strona 30
Przeglądaj online lub pobierz pdf Instrukcja obsługi dla Projektor Toshiba TDP-EX20U - Short Throw DLP Projector. Toshiba TDP-EX20U - Short Throw DLP Projector 50 stron. Toshiba tdp-ex20u: specifications
Również dla Toshiba TDP-EX20U - Short Throw DLP Projector: Specyfikacje (2 strony)

Using the menus 2 (Continued)
Precautions
•
When purchased, <PJLink authentication> is set to [Off] and <Password> is not set
by factory setting. You are recommended to make authentication setting as soon as
possible.
•
If you forget a passwork, set it again.
•
[Wireless network]
If you set Wireless network to Disabled, the wireless LAN connection will be unusable.
Set Wireless network to Disabled when you do not wish to use the wireless LAN for
network connection.
Note
•
The Email function does not support transmission to the SMTP server that requires
authentication.
Setting slideshow options
Slideshow is the function to allow users to display JPEG and MPEG image files saved
in a USB memory.
If you select Slideshow, the following items can be set.
Category
Item
Auto. demo
Still
On
Image
(Select whether to automatically start a slide show when a USB
memory is plugged.)
Interval
Select the slide show display interval.
or
5 sec./10 sec./30 sec./1 min./3 min./5 min./10 min.
Display effect
Select the slide show display effect.
or
None / Wipe / Wipe / Wipe
/ Cover / Cover
Auto. start
On
Movie
Image
(When a file is selected, start playing the file automatically.)
Repeat
On
(Play repeatedly after the end of playing)
Play icon
Common
Standard
Thumbnail
Switch the form of a thumbnail list.
display
All
Unplug device Run when unplugging a USB device.
Yes
Description
Off
: Begin a slide show. Use the
buttons to select.
: Begin a slide show. Use the
buttons to select.
/ Wipe
/ Dissolve / Cover
/ Cover
Off
Off
Continuous
File
Off
No
58
Details on individual items
Still Image
•
[Auto. demo]
On: A slide show begins automatically when a USB memory is inserted and input
switches to USB memory. At this time, the JPEG files in the root directory of the
USB memory are used in the slide show. If the input has already been switched
to USB memory, the slide show begins automatically when the USB memory is
inserted.
• To pause the slide show, press the
the slide show to begin. To stop the slide show, press the RETURN button.
Off: A list of thumbnails will be displayed when connecting with a USB memory or the
like. Select a desired file from the list.
Notes
•
The Auto Demo function does not work when using a USB memory card reader/writer to
mount multiple media.
•
The Auto Demo function is available for JPEG files only.
•
[Interval]
You can set the display interval of time (in seconds or minutes) for slide shows to be
played automatically.
•
[Display effect]
When playing a slide show, the projector can give various display effects or transitions
to each slide being displayed.
The transitions available are listed below:
•
None
Display each slide normally.
•
Wipe
Display the next slide gradually upward (Wipe ↑ ), downward (Wipe ↓ ), to the left
(Wipe ←), or to the right (Wipe →), over the current slide.
•
Dissolve
Display the next slide gradually in a certain fixed block pattern over the current
slide.
•
Cover
Display the next slide as sliding upward (Cover ↑ ), downward (Cover ↓ ), to the left
(Cover ←), or to the right (Cover →), over the current slide.
Movie Image
•
[Auto. start]
On: Start playing a video file automatically when it is selected.
•
[Repeat]
On: Repeat automatically from the beginning when the file reaches the end.
button. Pressing this button again allows
59
