Croydex MM720300E Skrócona instrukcja obsługi - Strona 6
Przeglądaj online lub pobierz pdf Skrócona instrukcja obsługi dla Wyposażenie wnętrz Croydex MM720300E. Croydex MM720300E 7 stron. Led illuminated mirror with demister pad
Również dla Croydex MM720300E: Instrukcja instalacji (7 strony)

SECTION 4 - SECURING THE MIRROR
10.
Place the L bracket over the threaded hole
located at the bottom of the mirror. Using a pencil
mark the position of the L bracket onto the wall.
(See Fig. 11)
11.
Remove the mirror and place the bracket on the
mark and drill a hole in the centre of the slot on the
wall. Lightly screw the bracket to the wall, allowing
the bracket to be moved up and down the slot.
Remove the mirror to connect the electrical supply.
(See Fig. 12)
* Refer to SECTION 6 - CONNECTING THE ELECTRICAL SUPPLY before proceeding to
12.
With the mirror in place and connected to the
electrical supply, secure the L bracket to the mirror
using the bolt provided.
(See Fig. 11)
SECTION 5 - OPERATING INSTRUCTIONS
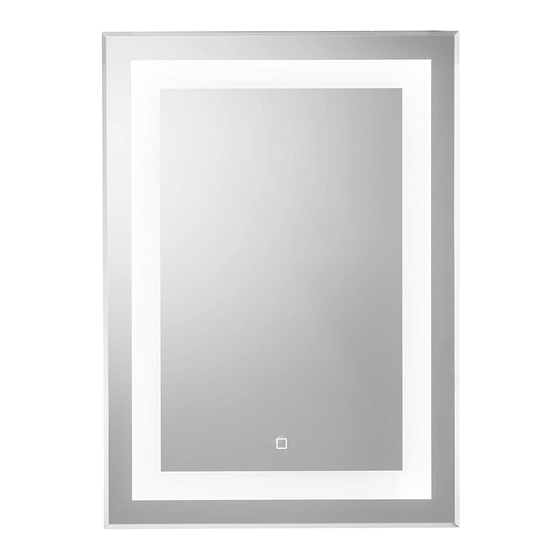
To turn the LED lights on or off, operate the touch switch on the front of the mirror glass.
SECTION 6 - CONNECTING THE ELECTRICAL SUPPLY
ENSURE THAT THE DOMESTIC ELECTRICAL MAINS SUPPLY TO WHICH THE MIRROR
IS TO BE CONNECTED IS TURNED OFF.
Connect the flexible mains supply cable on the mirror to the domestic electrical mains supply
ensuring that:
•
The Live (Brown) conductor is connected to the Live on the domestic electrical mains supply.
•
The Neutral (Blue) conductor is connected to the Neutral on the domestic electrical mains
supply.
•
The Earth (Green/Yellow) conductor is connected to the Earth/Ground on the domestic
electrical mains supply.
Note: Connection of the electrical supply MUST ONLY be carried out by a competent person in
accordance with the Building Regulations 2010 and connection to the fixed wiring of the mains
electrical supply must comply with the current revision of the IET Wiring Regulations BS 7671.
fig. 12
step 12 and fastening the mirror. *
fig. 11
6
MIR 034 R04
