3Com 3CRWX315075A - Wireless LAN Managed Access Point 3150 Skrócona instrukcja obsługi - Strona 7
Przeglądaj online lub pobierz pdf Skrócona instrukcja obsługi dla Bezprzewodowy punkt dostępowy 3Com 3CRWX315075A - Wireless LAN Managed Access Point 3150. 3Com 3CRWX315075A - Wireless LAN Managed Access Point 3150 17 stron. Wlan managed
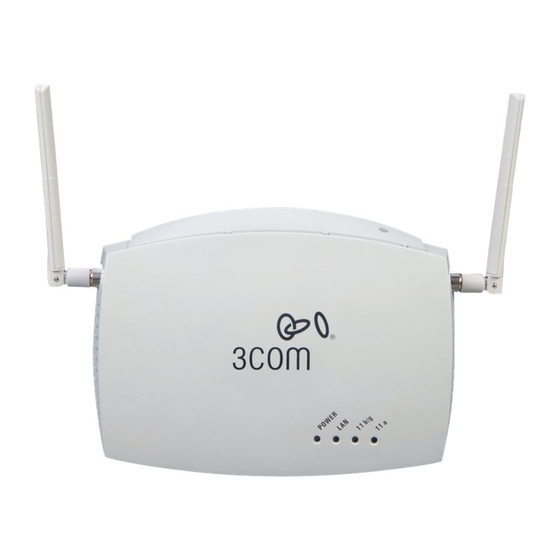
4. Mounting the Access Point
The access point can be mounted on the following types of surfaces:
•
Wall, ceiling, or electrical box (NEMA enclosure)
•
Tabletop
Wall, Ceiling, or Electrical Box Mounting
Use the mounting bracket that comes with your access point to install it on a wall, ceiling, or
electrical box.
To wall-mount the access point:
1
Route Ethernet cable through the opening in the cradle.
2
Screw the mounting bracket to a wall, ceiling, or electrical box (NEMA enclosure):
•
If mounting to a solid surface wall or ceiling, use the two sheet metal screws.
•
If mounting to drywall, use the two sheet metal screws and two wall anchors.
•
If mounting to an electrical box (NEMA enclosure), use the two threaded screws.
The figures below show a cable being routed through the large opening in the cradle and
then the cradle being mounted to a wall.
3
Connect the Ethernet cable (for power and network connection) to the port on the rear of
the access point.
4
Twist the access point onto the mounting bracket.
Tabletop Mounting
To install the access point on a flat surface such as a table or desktop:
1
Remove the backing from the four rubber feet and attach them on the bottom of the access
point.
2
Place the access point on the table.
3
Connect the Ethernet cable (for power and network connection) to the port on the rear of
the access point.
Routing a cable
Wall-mounting the cradle
7