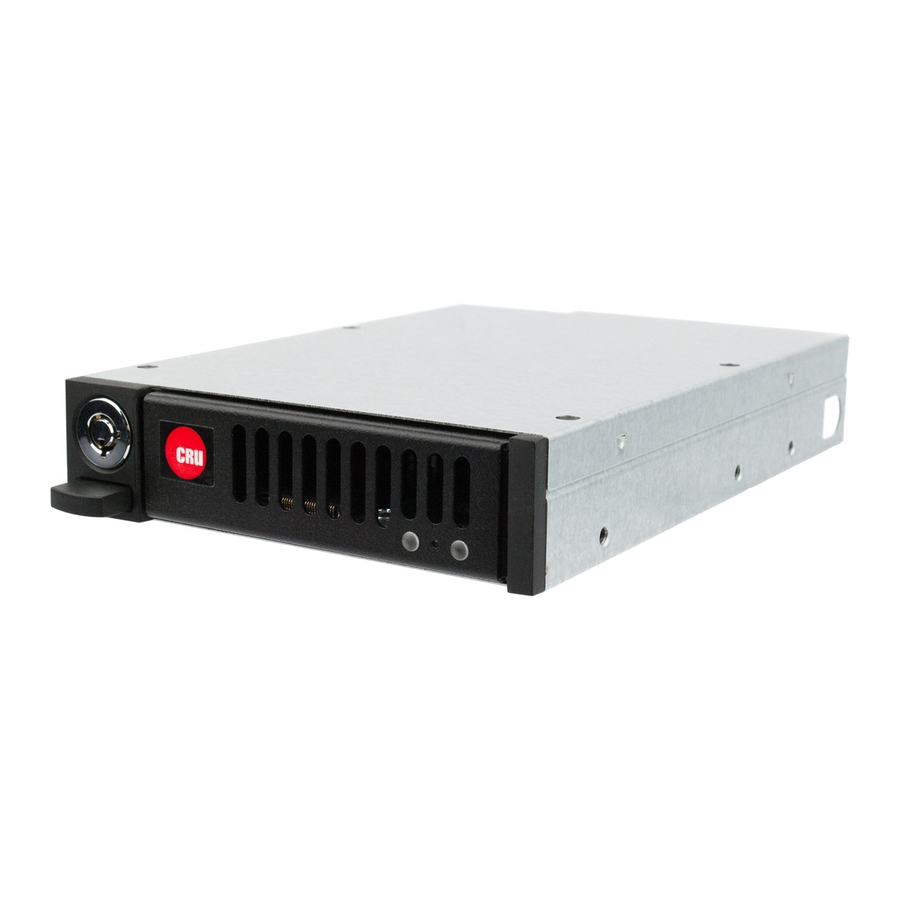
CRU Data Express QX310 Skrócona instrukcja obsługi - Strona 3
Przeglądaj online lub pobierz pdf Skrócona instrukcja obsługi dla Obudowa CRU Data Express QX310. CRU Data Express QX310 4 stron.

2.2 M.2/U.2 Device Installation
There are two types of carriers compatible with the QX310 frame. The M.2 Carrier supports 30mm,
42mm, 60mm, 80mm, and 110mm M.2 devices, and the U.2 carrier only supports U.2 devices.
2.2.1 M.2 Installation
a. Use a Phillips screwdriver to remove two screws from rear of carrier and remove the cover
from the carrier.
b. Install your M.2 SSD using the provided spacer and screw.
c. Replace the carrier cover and refasten with two screws.
2.2.2 U.2 Installation
a. Use a Phillips screwdriver to remove two screws from rear of carrier and remove the cover
from the carrier.
b. Install your U.2 SSD using the provided screws.
c. Replace the carrier cover and refasten with two screws.
3 Operating Your QX310
3.1 Basic Operation
a.
Insert the carrier into the receiving frame.
b.
You may optionally lock the carrier into the frame for added security or to prevent accidental
ejection from the frame. Insert the Data Express Key into the keylock and rotate it 90 degrees
clockwise to lock the carrier.
c.
Power on the computer if you have not already done so.
Your Data Express QX310 is now ready to use! If the media inside is already formatted, it can be used
right away. If the media is brand new or its format is not compatible with your computer, the media will
need to be formatted before being used.
3.2 Safe Carrier Removal
a.
Turn off the computer.
b.
If the carrier is locked into the frame, insert a Data Express Key into the lock and turn it 90
degrees counterclockwise.
c.
Press the eject button to remove the carrier from the frame.
Data Express QX310 Quick Start Guide
3
