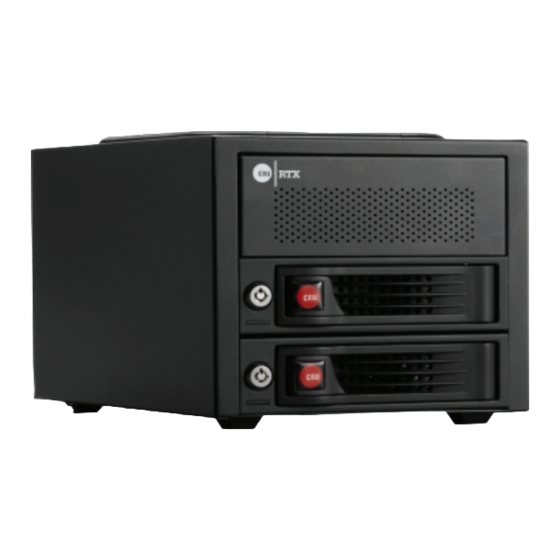
CRU RTX220-3SJ Skrócona instrukcja obsługi - Strona 2
Przeglądaj online lub pobierz pdf Skrócona instrukcja obsługi dla Obudowa CRU RTX220-3SJ. CRU RTX220-3SJ 2 stron.

1. HDD Installation
1.1 RTX220-3QJ, RTX220-3QJp, and RTX220-3SJ
a. Pull the ejection handle, open the door.
b. Slide in your SATA hard drive, connector-end first.
c. Shut the door until you hear it click.
1.2 RTX111-3Q, RTX Secure 111-3Q, and RTX112-3Q
a. Slide the drive carrier out of the RTX.
b. The carrier's cover is held in place by a screw on the rear of the carrier.
Remove the screw then remove the cover.
c. Slide the drive in from the front of the carrier.
d. Mate the connection on the drive with the connection on the drive
carrier circuit board.
e. Flip the drive/carrier assembly over, while holding the HDD in place.
Secure the drive in place with the provided screws.
f. Attach the Temperature Control Cooling Sensor to the top of the drive
with an adhesive strip.
g. Replace the carrier cover and secure the screw on the rear of the carrier.
h. Slide the carrier into the RTX.
*A flashing green LED on the bay indicates bay fan failure. Call CRU technical
support
2. Operating RTX-3QJ, RTX 3QJp, and RTX-3SJ
2.1 Connecting and Powering
RTX can connect to your computer in one of several ways. RTX-3SJ has USB
3.0 and eSATA connections. RTX-QJ and QJp have FireWire 800, USB3.0, and
eSATA/USB2.0 connections. Choose one of those cables to use and plug it into
the product. Connect the power cord to the product and to a grounded electrical
outlet.
For models with encryption, ensure that the encryption key is inserted and that
the lock on the bay is in the 'locked" position.
Switch the product on. The drive will spin up automatically on RTX220-3SJ,
RTX220-3QJ, and RTX220-3QJp. The key lock needs to be in the "locked"
position for the drives to spin up in RTX 221-3SJ, RTX221-3QJ, RTX221-3QJp,
RTX Secure 222-3SJ, RTX Secure 222-3QJ, and RTX Secure 222-3QJp.
Your RTX is now ready to use! When hard drives are first used with RTX, they
will show up as blank, unallocated drives and you'll need to format the drives
before you can use them. Note that formatting a drive will erase all data on the
drive, so be sure to back up your data before installing the hard drives into this
enclosure and beginning this operation.
3. Selecting the Operation Mode for each Bay (RTX-3QJp only)
• R/W (Read/Write)
RTX-3QJp bay will operate like a standard external hard drive,
performing standard read and write functions. The drive bay must be set to
R/W mode in order to format the hard drive. If the bay is set to WP mode, new
drives cannot be formatted for use.
• WP (Write-Protect)
RTX-3QJp will protect the data already on the hard drive. The data on
the drive can be read but cannot be altered.
Note: When changing the mode of operation the new setting will not
take effect until the power is cycled or a drive is removed or added.
The mode LED will then change to indicate the new mode.
4. Encryption Information (RTX Secure models only)
RTX with encryption uses full disk hardware encryption to encrypt the entire
contents of the drive-including the boot sector, operating system and all files-
without performance degradation.
The Security Key must be installed prior to powering on RTX for the data to be
decrypted on the drive. Externally connected Security Keys may be removed
and stored in a safe location once they have been accepted. Always store
Security Keys apart from the data so that in the event that the drive is lost or
stolen, the data is protected.
When a drive is formatted using an encryption key, the same or a duplicate
key must be used in order to access the data. There is no "back door" to
access the data; lost keys make data recovery virtually impossible.
CRU Mark
10.25.12
PMS 711
2 cyan
85 magenta
76 yellow
