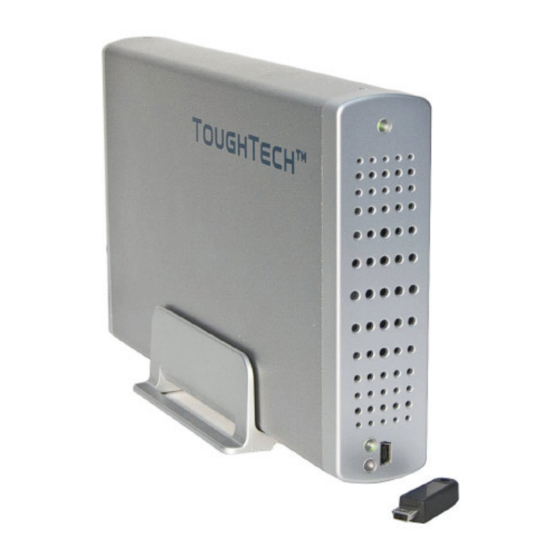
CRU Dataport ToughTech Q Podręcznik użytkownika - Strona 5
Przeglądaj online lub pobierz pdf Podręcznik użytkownika dla Obudowa CRU Dataport ToughTech Q. CRU Dataport ToughTech Q 12 stron. Hard drive enclosure
Również dla CRU Dataport ToughTech Q: Skrócona instrukcja obsługi (2 strony)

CRU
2.1.7
Align the edges of the hard drive platform with the internal rails of the outer housing, and carefully
slide the platform into the enclosure.
2.1.8
Fasten the rear panel to the enclosure housing by replacing the screws removed in step 1.
ToughTech is now assembled and ready for connection to a computer.
2.2 Connecting ToughTech to a computer
2.2.1
Connect the USB, FireWire, or eSATA
connector into the corresponding port on
ToughTech.
2.2.3
Plug the other end of the data cable to an available port on your
computer. Turn on the power switch; ensure that the green power LED
indicator is active. The power LED will blink whenever the drive is accessed.
NOTE: Most computers do not have a built-in eSATA
connection. If you wish to connect this way, you may
need to install an expansion card inside your computer
to add eSATA connectivity. Such cards are sold by
WiebeTech and other dealers of computer hardware.
U s e r M a n u a l f o r T T - Q , T T S - Q ( A9 - 0 0 0 - 0 0 0 1 r e v 1 . 5 )
2.2.2
Connect the AC power adapter to the rear
of ToughTech. Plug the other end into a
grounded electrical outlet.
- 5 -
