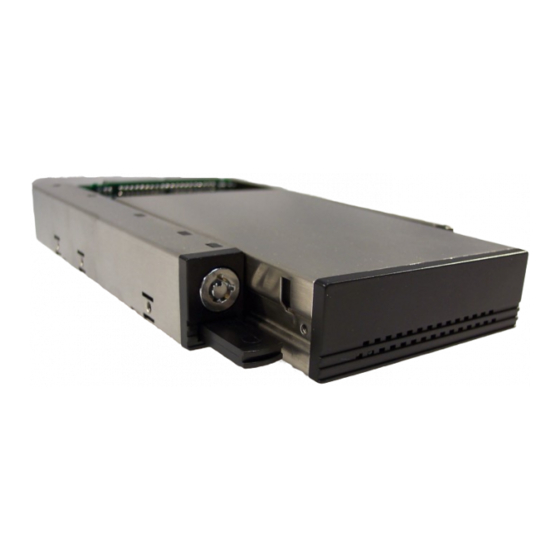
CRU Dataport 25 Podręcznik użytkownika - Strona 4
Przeglądaj online lub pobierz pdf Podręcznik użytkownika dla Przechowywanie CRU Dataport 25. CRU Dataport 25 6 stron. Portable storage device

DataPort 25. When multiple IDE drives are used, they have to be
jumpered such that there is one drive as a master and one drive as a
slave. Since both drives are off the same cable connector, jumpering as
cable select is NOT supported.
Serial ATA operation
For Serial ATA operation, the lower drive in the carrier is connected to
the left-most Serial ATA data connector on the rear of the frame (JP4).
The upper drive is connected to the right-most data connector (JP5).
These cables can be up to 1000 mm in length. There is also a 2-pin
header on the frame of which pin 1 can be connected to the host
activity open collector LED driver.
Figure 1 – Back
To support both carrier types, connect all three data cables to the
DataPort 25 frame board.
WARNING!
Unlock the DataPort 25 before attempting to remove the
carrier.
Carrier removal
To remove the carrier, first make sure the ejection lever is fully
extended. Then gently press it in to eject the carrier.
Page 2
www.CRU-DataPort.com
Figure 2 – Ejection lever
Preparation for Installation
1.
To prevent data loss, read this manual thoroughly before installing
or operating the DataPort.
2.
Before touching any electrical equipment, ground yourself by
touching the metal part of your computer chassis to discharge
static electricity and help prevent any damage to your computer.
CRU-DataPort is not responsible for static discharge
damage.
3.
Gather the following tools and needed items:
Philips screwdriver
•
•
Small flat-head screwdriver
Computer Users Manual
•
Internal IDE or Serial ATA data cable(s)
•
•
Available Serial ATA port(s) (Serial ATA version)
www.CRU-DataPort.com
Page 3
