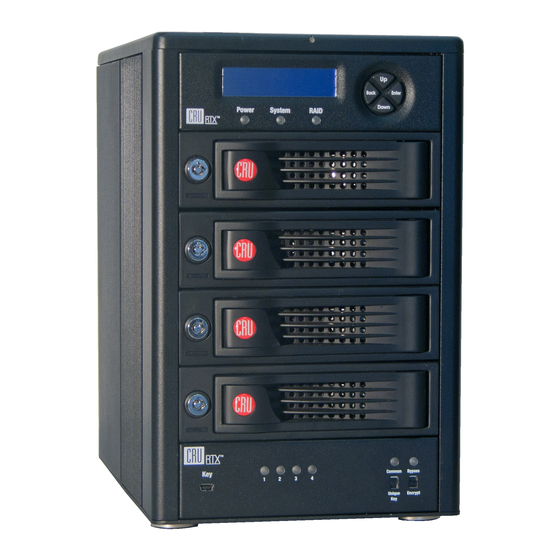
CRU Dataport RTX Secure 410-3QR RTXS410-3QR Podręcznik użytkownika - Strona 6
Przeglądaj online lub pobierz pdf Podręcznik użytkownika dla Przechowywanie CRU Dataport RTX Secure 410-3QR RTXS410-3QR. CRU Dataport RTX Secure 410-3QR RTXS410-3QR 10 stron.

Failure to do so can result in the loss of data. To set up or change
the RAID type, disconnect all data cables and reboot the RTX. After the
unit has initialized, the LCD will display the drives' mode and status.
6.1 Creating a New RAID
Use the LCD and menu selection buttons to complete these steps if
you did not purchase your unit pre-configured. Changing RAID levels
will erase any data on the drives. Make a backup copy of any
data you wish to keep before changing the RAID.
a. Disconnect the RTX enclosure from the computer.
b. Insert four hard drives (preferably all the same make, model, and
capacity) into the RTX enclosure and flip the power switch on the
rear of the unit.
c. After the RTX enclosure boots up, it will begin alarming and the
LCD will display the error "Error: Not a RAID Set". Press the Enter
button to silence the alarm.
d. Press the Enter button a second time and the LCD screen will ask
"Make New RAID?" Press Enter to confirm.
e. The LCD will display "Select RAID Type". Press Up or Down to
cycle through to your desired RAID type and press Enter.
f. The screen will display "Will Erase all Data OK?" Pressing Enter
will result in the loss of all data on the drives. Ensure all data
is backed up, then press Enter.
g. The new configuration will be selected and the RTX enclosure will
reboot. The RAID is now created.
6.2 Changing the RAID Type
a. Disconnect the RTX enclosure from the computer.
b. Press the Up button to cycle the LCD menu to the "Change RAID
Mode" screen and press the Enter button.
c. The LCD will display "Select RAID Type". Press Up or Down to
cycle through the available options to your desired RAID type and
press Enter.
d. The screen will display "Will Erase all Data OK?" Pressing Enter
will result in the loss of all data on the drives. Ensure all data
is backed up, then press Enter.
e. The new configuration will be selected and the RTX enclosure will
reboot. The RAID is now created.
f. The RTX enclosure has been configured and is ready for operation.
Follow the instructions for the appropriate operating system usage
instructions to initialize and format the drives.
6.3 Adding a New Drive to a RAID
The Security Key must be present when any failed drives are replaced.
If the Security Key is not installed or an incorrect Security Key is
detected, the bay will not power up and the bay's Encryption Status
LED will flash orange, preventing the RAID from rebuilding.
Always ensure that the correct encryption mode is selected before
powering on the RTX Secure. Failure to do so may result in a failed
RAID alarm. But don't worry, your data will remain intact and will be
accessible once the correct encryption mode is set.
NOTE: Any data on the new hard drive will be destroyed when
the drive is added to the RAID.
RAID 0
Never remove a drive from a RAID 0 as this will cause the loss of
all data. In the event of a disk failure for a RAID 0, the RAID will be
destroyed. Add a drive and then press the Up button to create a new
RAID. Follow the display prompts to build a new array.
RAID 1, 5, and 10
In the event of a disk failure or removal, the RAID will continue to
function in a degraded state. Add a new disk to the RTX Secure 410-
3QR to rebuild the RAID. After the new drive has been detected, the RTX
enclosure will ask to add a new disk. Press the Enter button to do so. The
disk will be added to the RAID and the RAID will begin to rebuild. The
LCD screen will display the percent complete for the rebuild. Rebuild
times vary, a 1TB hard drive takes just over 3 hours to rebuild. You can
toggle to the approximate time remaining by pressing enter on the
front panel.
7 Buzzer and Temperature Configuration
The RTX Secure 410-3QR is compatible with CRU Configurator
3.5 or higher, which allows IT administrators to change internal
settings to meet individual needs. Configurator allows the user
to set the password, enable and disable audible alarms, and change
temperature alarms and warnings settings. To download Configurator
and the full Configurator manual, visit www.wiebetech.com/software/
configurator.php.
Page 6
