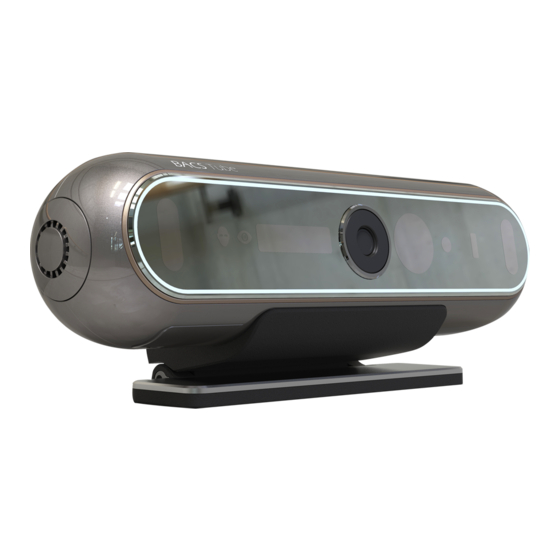
CrucialTrak BFT-A001 Skrócona instrukcja obsługi - Strona 2
Przeglądaj online lub pobierz pdf Skrócona instrukcja obsługi dla System bezpieczeństwa CrucialTrak BFT-A001. CrucialTrak BFT-A001 2 stron.

Using Product
You can identify yourself easily with the biometrics registered in the
product. Unregistered data cannot be used for authentication.
1.
The status light will turn white as the ToF sensor detects you
when you come within 1 m (3.2 ft) range of the product.
2.
Use your biometric data (face and iris).
When the product is not in use, the status light will blink and
the product will automatically switch to standby mode.
3.
Verify whether or not the authentication was successful.
•
When authenticated, the status light will turn green, the
mode icon will turn on, and the user ID will appear on the
display.
•
When authentication has failed, the status light will turn red.
•
When an error occurs, the mode icon will blink.
•
Refer to CRUAMS (Crucial Access Management System) or
contact the customer service center for how to fix the error.
Facial Recognition
Stand at a distance of 60-100 cm (23.6-39.3 in) from the product,
and look at the face camera. Adjust your face so it is parallel to the
camera. Make sure the iris camera is between your eyes by using
the front surface mirror.
You can adjust the angle by pushing or pulling on the body of the
product. Be careful not to adjust it forcibly as connecting parts
between the product and the mount bracket may break.
•
For better recognition, face forward and lower or lift your chin.
•
Facial recognition may fail:
-
when it is too bright or too dark, or the surface of product
is dirty.
-
when you change your appearance by wearing a hat,
glasses, heavy make-up or other accessories.
Iris Recognition
Stand at a distance of 30–40 cm (11.8-15.7 in) from the product,
and look at the face camera. Adjust your face so it is parallel to the
camera. Make sure the iris camera is between your eyes by using
the front surface mirror. Look at the camera for 1–3 seconds. The
iris light will turn red when your irises are recognized.
You can adjust the angle by pushing or pulling on the body of the
product. Be careful not to adjust it forcibly as connecting parts
between the product and the mount bracket may break.
•
For best results, adjust your face so it can be parallel to the
camera and open your eyes wide.
•
Scanning irises may fail:
-
when it is too bright or too dark, or the surface of product
is dirty.
-
when the irises are hard to scan due to glasses, contact
lenses, blepharoptosis, or eye surgery.
•
If it cannot scan your irises while you are wearing glasses or
contact lenses, take them off and try again.
