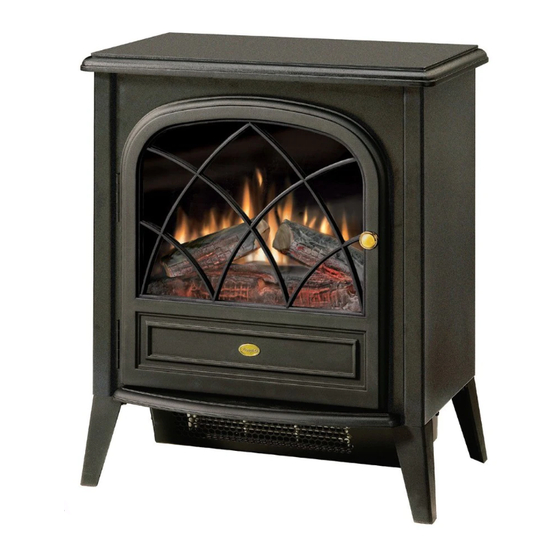
Dimplex ELECTRALOG CS3311 Części i instrukcja serwisowa - Strona 7
Przeglądaj online lub pobierz pdf Części i instrukcja serwisowa dla Kuchenka Dimplex ELECTRALOG CS3311. Dimplex ELECTRALOG CS3311 12 stron. Compact stove
Również dla Dimplex ELECTRALOG CS3311: Instrukcja obsługi (14 strony), Instrukcja serwisowa (13 strony), Instrukcja serwisowa (11 strony), Instrukcja serwisowa (13 strony)

CS1205
If unit was operating prior to servicing allow at least 10 minutes for light bulbs and
heating element to cool off to avoid accidental burning of skin.
Disconnect power before attempting any maintenance or cleaning to reduce the risk of
electric shock or damage to persons.
TO REPLACE ON/OFF AND HEATER SWITCHES
1. Remove the 12 fastening screws on the top panel and remove the top of the
stove.
2. Locate the switch to be replaced mounted on rear of the stove and disconnect
the wiring clips and connections noting their original locations.
3. Depress the retainer clips on the rear of the switch and push the switch out of the
rear of the cover.
4. Reassemble in the reverse order as above
TO REPLACE THERMOSTAT CONTROL
1. Remove the 12 fastening screws on the top panel and remove the top of the
stove.
2. Remove the Thermostat Control knob to gain access to the mounting screws.
3. Remove the 2 mounting screws and disconnect the wiring cli[ps and connections
noting their original locations.
4. Reassemble in the reverse order as above
6
