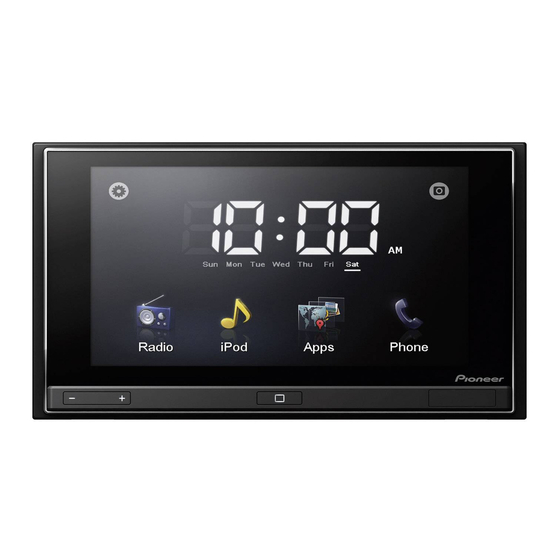
Pioneer AppRadio SPH-DA01 Instrukcja obsługi - Strona 21
Przeglądaj online lub pobierz pdf Instrukcja obsługi dla Odbiornik samochodowy Pioneer AppRadio SPH-DA01. Pioneer AppRadio SPH-DA01 36 stron. Display unit appradio
Również dla Pioneer AppRadio SPH-DA01: Instrukcja obsługi (32 strony), Ważne informacje dla użytkownika (24 strony), Instrukcja instalacji (40 strony), Aktualizacje oprogramowania sprzętowego (4 strony)

Customizing preferences
6
Tap
or
to adjust the level of the
equalizer band.
You can set the level of the equalization band
between "–15" and "15".
7
Tap
or
to select the desired Q fac-
tor.
You can select the following Q factors:
Low: 1 — 1.25 — 1.5 — 2
Mid: 0.5 — 0.75 — 1 — 1.25
p Q factor cannot be adjusted when you se-
lect "High".
p If you tap [Reset], the setting values of equali-
zer curve is returned to the default settings.
Using balance adjustment
You can select a fader/balance setting that
provides an ideal listening environment in all
occupied seats.
1
Display the audio settings screen.
2
Tap [FAD BAL].
3
Tap
or
to adjust front/rear speaker
balance.
You can set the front/rear speaker balance
from "–24" to "+24".
4
Tap
or
to adjust left/right speaker
balance.
You can set the left/right speaker balance from
"–24" to "+24".
Setting subwoofer gain
1
Display the audio settings screen.
2
Tap [FAD BAL].
3
Tap
or
to adjust the subwoofer
gain.
You can set the subwoofer gain from "–12" to
"+12".
Customizing the general
settings
1
Press the Home button to display the
Home screen.
2
Tap
on the Home screen.
3
Tap [General].
The general settings screen appears.
4
Tap the item that you want to change
the setting.
Display settings
1
Display the general settings screen.
2
Tap
.
Make the following settings.
Rear Camera
You can switch the polarity of the rear view camera.
= For details, refer to Chapter 8.
Screen OFF
You can set the time when the screen is blacked out.
! OFF (default):
The screen does not black out.
! 10 sec:
The screen is blacked out after 10 seconds.
! 20 sec:
The screen is blacked out after 20 seconds.
Dimmer
You can link the brightness of the screen to operation
of the vehicle's headlights.
! ON (default):
Dims the screen when the vehicle's headlights
are turned on.
! OFF:
The screen is not dimmed even when the vehicle's
headlights are turned on.
LCD brightness
You can adjust the brightness of display.
Each time you tap
or
level. "5" to "1" is displayed as the level is increased or
decreased.
increases or decreases the
En
Chapter
09
21
