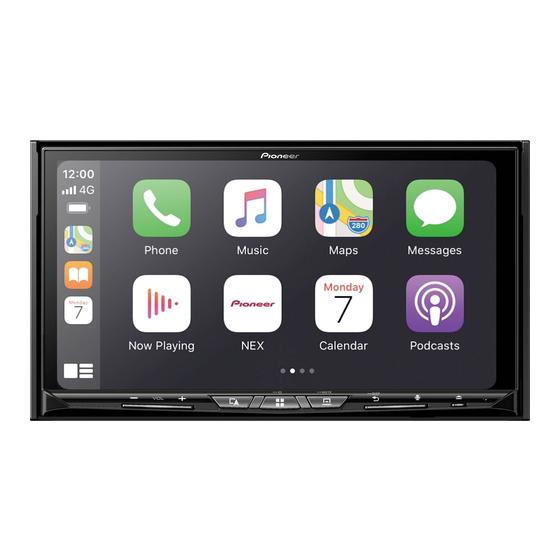
Pioneer AVIC-W6600NEX Instrukcja instalacji - Strona 4
Przeglądaj online lub pobierz pdf Instrukcja instalacji dla Odbiornik Pioneer AVIC-W6600NEX. Pioneer AVIC-W6600NEX 41 stron. Multimedia navigation receiver
Również dla Pioneer AVIC-W6600NEX: Skrócona instrukcja obsługi (16 strony)

Rear panel (main
terminals)
WARNING
• To avoid the risk of accident and the
potential violation of applicable laws, this
product should never be used while the
vehicle is being driven except for
navigation purposes. And, also rear
displays should not be in a location
where it is a visible distraction to the
driver.
• In some countries, the viewing of images
on a display inside a vehicle even by
persons other than the driver may be
illegal. Where such regulations apply they
must be obeyed and this product's video
source should not be used.
GPS antenna 3.55 m (11 ft. 8 in.)
Microphone 3 m (9 ft. 10-1/8 in.)
iDatalink adapter input
Refer to the instruction manual for the
iDataLink adapter (sold separately).
SiriusXM Connect Vehicle Tuner
Refer to the instruction manual for
SiriusXM Connect Vehicle Tuner (sold
separately).
This product
Antenna jack
AV cable IN/OUT
4
En
Power supply
Fuse (10 A)
Wired remote input
Hard-wired remote control adapter can
be connected (sold separately).
NOTE
Before using and/or connecting the
iDatalink Maestro adapter (sold
separately), you will need to first flash the
Maestro module with the appropriate
vehicle and head unit firmware. You can
find the device number that is required for
the activation on the followings (refer to
the Operation Manual.):
• The label on the packaging of this
product
• The label on this product
• The [Firmware Information] screen
Power cord
WARNING
IMPROPER CONNECTION MAY RESULT IN
SERIOUS DAMAGE OR INJURY
INCLUDING ELECTRICAL SHOCK, AND
INTERFERENCE WITH THE OPERATION
OF THE VEHICLE'S ANTILOCK BRAKING
SYSTEM, AUTOMATIC TRANSMISSION
AND SPEEDOMETER INDICATION.
CAUTION
It is strongly suggested that the speed
pulse wire be connected for accuracy of
navigation and better performance.
To power supply
Power cord
Yellow
To terminal supplied with power
regardless of ignition switch position.
Red
To electric terminal controlled by
ignition switch (12 V DC) ON/OFF
Orange/white
To lighting switch terminal.
Black (ground)
To vehicle (metal) body.
Violet/white
This is connected so that this product
can detect whether the vehicle is
moving forwards or backwards.
Connect the violet/white lead to the
lead whose voltage changes when the
shift lever is put in reverse. Unless
connected, the sensor may not detect
your vehicle traveling forward/
backward properly, and thus the
position of your vehicle detected by the
sensor may be misaligned from the
actual position.
When you use a rear view camera,
please make sure to connect this lead.
Otherwise you cannot switch to the rear
view camera picture.
Pink (CAR SPEED SIGNAL INPUT)
This product is connected here to
detect the distance the vehicle travels.
Always connect the vehicle's speed
detection circuit. Failure to make this
connection will increase errors in the
vehicle's location display.
Blue/white
Connect to system control terminal of
the power amp (max. 300 mA 12 V DC).
Light green
Used to detect the ON/OFF status of the
parking brake. This lead must be
connected to the power supply side of
the parking brake switch.
If this connection is made incorrectly
or omitted, certain functions of this
product will be unusable.
Power supply side
Parking brake switch
Ground side
NOTE
The position of the speed detection circuit
and the position of the parking brake
switch vary depending on the vehicle
model. For details, consult your authorized
Pioneer dealer or an installation
professional.
