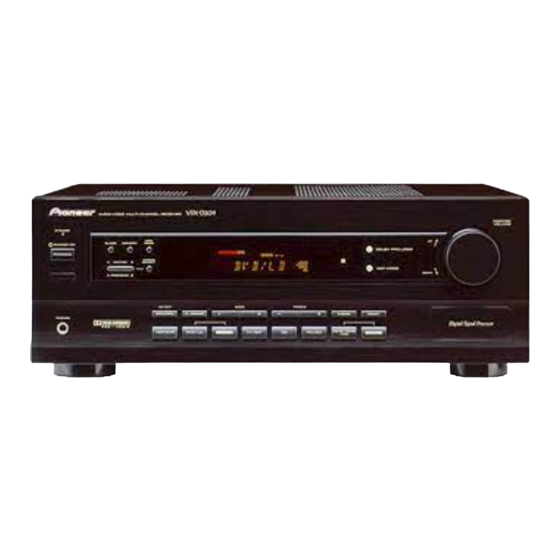
Pioneer VSX-D209 Instrukcja obsługi - Strona 7
Przeglądaj online lub pobierz pdf Instrukcja obsługi dla Odbiornik Pioneer VSX-D209. Pioneer VSX-D209 32 stron. Audio/video multi-channel receiver

Preparing the Remote Control
Loading the batteries
Operating range of remote control unit
The remote control may not work properly if:
memo
¶ There are obstacles between the remote control
and the receiver's remote sensor.
¶ Direct sunlight or fluorescent light is shining onto
the remote sensor.
¶ The receiver is located near a device that is
emitting infrared rays.
¶ The receiver is operated simultaneously with
another infrared remote control unit.
The FUNCTION & SOURCE SELECT buttons on the remote control
Please note that the remote control has two types of buttons, one called FUNCTION and a set of buttons called
SOURCE SELECT. Use the FUNCTION button to choose the component you want to listen to (CD, CDR/TAPE,
TUNER, etc.) and use the SOURCE SELECT buttons to change which component the remote control itself will
operate. Thus, if the VSX-D209 is in TUNER mode, for example, and you want to listen to your CD player, you
need to select the CD mode with the FUNCTION button.
Operating other Pioneer components
By connecting a control cord (optional), you can
control other Pioneer equipment using this remote
control unit. Point the remote control unit towards
the remote sensor of this unit, even when operating
other equipment.
The remote control signals are received by the
remote sensor of this unit, and sent to the other
devices via the CONTROL OUT terminal.
You can also control Pioneer components
memo
by pointing the receiver's remote control
directly at the component. This type of
operation does not require control cords.
Dry cell batteries
(AA size IEC R6P x 2)
VSX-D209
Remote control unit
Introductory Information
CAUTION!
Incorrect use of batteries may result in such
hazards as leakage and bursting. Observe the
following precautions:
¶ Never use new and old batteries together.
¶ Insert the plus and minus sides of the
batteries properly according to the marks
in the battery case.
¶ Batteries with the same shape may have
different voltages. Do not use different
batteries together.
30
30
7m
CONTROL
OUT
Other Pioneer products
with Î mark
Connect to CONTROL IN
terminal of other Pioneer
products with Î mark.
CONTROL
IN
OUT
7
