Pioneer AVH-4850BT Instrukcja obsługi - Strona 7
Przeglądaj online lub pobierz pdf Instrukcja obsługi dla Odbiornik stereo Pioneer AVH-4850BT. Pioneer AVH-4850BT 32 stron.
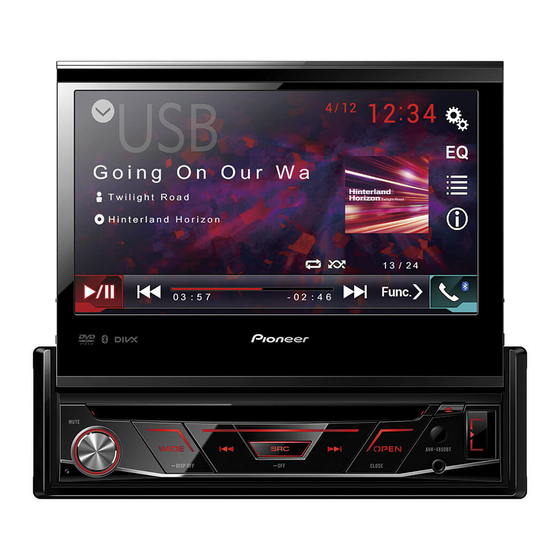
Basic operation
Use and care of the remote
control
Using the remote control
Point the remote control in the direction of the front panel to
operate.
When using for the first time, pull out the film protruding from
the tray.
Replacing the battery
Slide the tray on the back of the remote control out and insert
the battery with the plus (+) and minus (–) poles aligned
properly.
•
When using for the first time, pull out the film protruding from
the tray.
CR2025(3V)
WARNING
•
Keep the battery out of the reach of children.
Should the battery be swallowed, consult a doctor
immediately.
•
Batteries (battery pack or batteries installed) must not be
exposed to excessive heat such as sunshine, fire or the like.
CAUTION
•
Remove the battery if the remote control is not used for a
month or longer.
•
There is a danger of explosion if the battery is incorrectly
replaced. Replace only with the same or equivalent type.
•
Do not handle the battery with metallic tools.
•
Do not store the battery with metallic objects.
•
If the battery leaks, wipe the remote control completely clean
and install a new battery.
•
When disposing of used batteries, comply with governmental
regulations or environmental public institutions' rules that
apply in your country/area.
Adjusting the LCD panel angle
CAUTION
Keep hands and fingers clear of the unit when opening, closing,
or adjusting the display. Be especially cautious of children's
hands and fingers.
Press and hold the OPEN/CLOSE button until display the
[
] / [
] icon on the screen, touch them to adjust the
LCD panel angle position.
Important
•
When adjusting the LCD panel angle, be sure to press and
hold OPEN/CLOSE button. Forcibly adjusting the LCD panel
by hand may damage it.
•
As the set angle is saved, the LCD panel will automatically
be adjusted to the same position the next time the LCD
panel is opened.
Inserting/ejecting/connecting
media
Insert a disc
1. Insert a disc into the disc loading slot.
2. Disc can be inserted without opening LCD panel.
3. The unit will change to disc mode automatically.
Notes:
•
Please confirm whether there is a disc in the unit before you
insert another one.
•
The unit will exit current playing source and enter DVD mode
when one disc is inserted.
•
The following format disc will be support: CD-R, CD-RW,
DVD-R, DVD+R, DVD-RW, DVD+RW .
CAUTION
Do not insert anything other than a disc into the disc-loading
slot.
Ejecting a disc
Press the
button on the front panel to eject the disc.
Plugging and unplugging a USB
storage device
•
This product may not achieve optimum performance with
some USB storage devices.
•
Connection via a USB hub is not possible.
1. Slip the USB cover from left to right.
2. Plug in the USB storage device using an appropriate cable.
•
Check that no data is being accessed before pulling out the
USB storage device.
7