Pioneer A-109 Instrukcja obsługi - Strona 9
Przeglądaj online lub pobierz pdf Instrukcja obsługi dla Wzmacniacz Pioneer A-109. Pioneer A-109 32 stron. Stereo amplifier
Również dla Pioneer A-109: Instrukcja obsługi (12 strony), Instrukcja serwisowa (6 strony), Instrukcja serwisowa (6 strony), Instrukcja serwisowa (6 strony)
OPERATIONS
BEFORE BEGINNING OPERATIONS
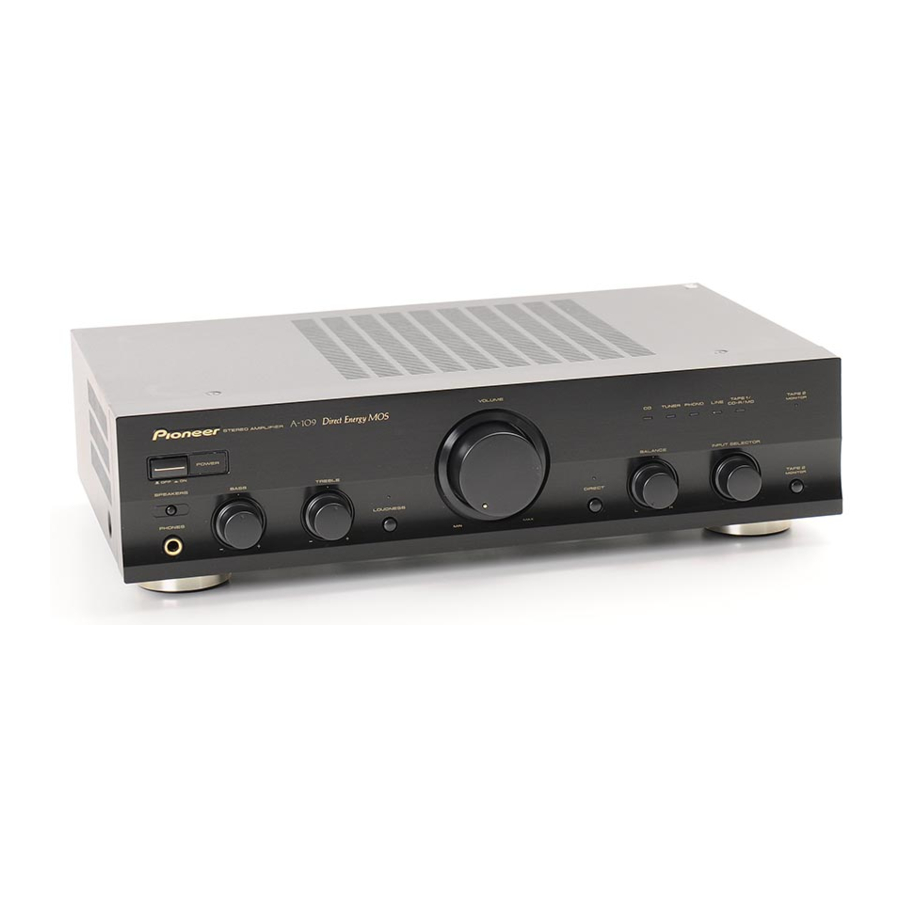
1. Set the VOLUME control to minimum.
2. Set the POWER switch to ON.
3. Press the SPEAKERS button corresponding to
the speaker system to be used. (A-209 only)
Press the SPEAKERS switch to ON. (A-109 only)
4. Set the BALANCE control to the center position.
5. Set the DIRECT button to off.
6. Set the TAPE 2 MONITOR button to off.
PLAYBACK PROCEDURES
1. Set the INPUT SELECTOR knob to the desired
playback source.
÷ For playback of a compact disc: Set to [CD].
÷ For reception of an AM/FM broadcast: Set to [TUNER].
÷ For playback of a record: Set to [PHONO].
÷ For playback with the equipment connected to the LINE
terminals: Set to [LINE].
÷ For playback of a tape: Set to [TAPE 1/CD-R/MD].
NOTES:
÷ When you do not want to monitor the TAPE 2 MONITOR
sound, set the TAPE 2 MONITOR button to OFF.
÷ When you select PHONO, the sound is muted for a few
seconds.
2. Operate the equipment to begin playback.
3. Adjust playback volume with the VOLUME con-
trol on this unit.
4. Adjust the tone to your preference using the
BASS and TREBLE controls, and LOUDNESS but-
ton.
RECORDING TAPES
1. Select the recording equipment with the INPUT
SELECTOR knob.
2. Begin recording by operating the recording equip-
ment and cassette deck.
Refer to the operating instructions of your cassette deck
for proper operating procedures.
COPYING TAPES
When two decks are used, you can record the sounds from
one deck onto the other.
Application examples:
÷ To make a tape copy with contents identical to the original
tape.
÷ To edit a recording of an FM broadcast in order to cut out
unwanted commercials, recording only of desired material
onto another tape.
1. Load tapes for playback (pre-recorded tape) and
recording (blank tape) into the respective cas-
sette decks.
2. Select the copying direction with the INPUT SE-
LECTOR knob and TAPE 2 MONITOR button.
÷ When copying from the cassette deck of the TAPE 1/
CD-R/MD terminals to the cassette deck of the TAPE 2
MONITOR terminals: Set the INPUT SELECTOR knob
to TAPE 1/CD-R/MD.
÷ When copying from the cassette deck of the TAPE 2
MONITOR terminals to the cassette deck of TAPE 1/
CD-R/MD terminals: Set the TAPE 2 MONITOR button
to ON and the INPUT SELECTOR knob to a position
other than TAPE 1/CD-R/MD.
3. Operate the cassette decks to begin copying.
Set the cassette deck with the original (playback) tape to
the playback mode, and set the cassette deck with the
blank tape to the recording mode.
9