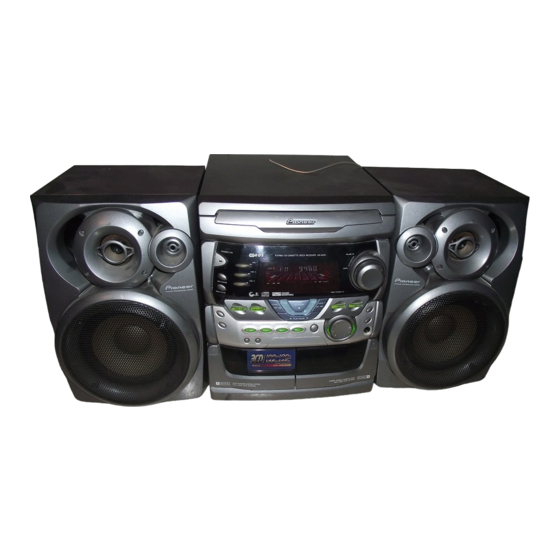
Pioneer SA-6700 Instrukcja obsługi - Strona 8
Przeglądaj online lub pobierz pdf Instrukcja obsługi dla Wzmacniacz Pioneer SA-6700. Pioneer SA-6700 48 stron. Stereo cd cassette deck receiver, speaker system
Również dla Pioneer SA-6700: Instrukcja serwisowa (44 strony)

CONNECTIONS
5. When using a video cassette recorder or MD
player, connect a separately sold stereo
audio cord to the AUX input jacks.
6. Lastly, plug the power cord into the AC
wall outlet.
NOTE:
Insert the plugs securely into the jacks. Improper connection can lead
to sound distortion or malfunction.
Optical digital jack connection
(The XR-A370 does not feature an optical digital jack so this
connection cannot be made.)
OPTICAL
DIGITAL
OUT
Connecting to a component (DAT, MD etc.) that has an optical digital
input jack.
÷ Connect the optical output jack of the unit to the optical input jack
of the connecting component with an optical cable.
÷ A separately sold optical cable is used for optical digital jack
connection. However, only components having the same type of
optical jack as this unit can be connected with this type of cable.
An adapter for digital hookup with a coaxial digital terminal is also
available separatly.
ANTENNA CONNECTIONS
Radio reception is not possible unless the antenna is properly
connected.
Reception varies from one area to another. Signal broadcast
tends to be especially poor in metropolitan areas where there
are many tall buildings and in mountainous areas. Proper
antenna installation is vital to good reception.
FM ANTENNA
A FM antenna
Fully extend the antenna and affix it to a wall, etc.
B External FM antenna installation
Use an external antenna when the signals from the stations are weak
and cannot be picked up with the supplied FM antenna. If the sound
heard is accompanied by too much noise, connect a 75 Ω coaxial
cable.
8
En/Fr
OUT
L
R
OPTICAL
DIGITAL
IN
MD
DAT
RACCORDEMENTS
5. Si vous utilisez un magnétoscope ou un
lecteur de Minidisc, raccordez un cordon
audio stéréo vendu séparément aux entrées
AUX.
R
R
R
6. Pour terminer le raccordement, branchez le
cordon d'alimentation à la prise de courant.
REMARQUE :
Introduisez bien les fiches dans les prises jack. Un raccordement
inadéquat peut provoquer une distorsion du son ou des
dysfonctionnements.
Raccordement sur prise jack pour entrée optique numérique
(Le modèle XR-A370 ne possède pas de prise optique pour
signaux numériques, par conséquence ce raccordement ne
peut pas être effectué.)
OPTICAL
DIGITAL
OUT
Raccordement à un composant (DAT, MD, etc.) sans entrée optique
numérique
÷ Raccordez la sortie optique de l'appareil à l'entrée optique du
composant à raccorder avec un câble en fibre optique.
÷ Un câble en fibre optique vendu séparément est utilisé pour le
raccordement à une prise jack optique numérique. Seuls les
composants possédant le même type de jack optique que cet
appareil peuvent être raccordés avec ce type de câble. Un
adaptateur de raccordement numérique avec borne numérique
coaxiale est également disponible séparément.
CONNEXIONS D'ANTENNE
La réception radio n'est pas possible si l'antenne n'est pas
correctement raccordée.
La réception varie d'une région à l'autre. La transmission du
signal a tendance à être particulièrement mauvaise dans les
zones métropolitaines comptant beaucoup d'immeubles élevés
et dans les zones montagneuses.
ANTENNE FM
A Antenne FM
Déployez entièrement l'antenne et fixez-la à un mur etc.
B Installation de l'antenne externe FM
Utilisez une antenne extérieure quand les signaux en provenance des
stations sont faibles et ne peuvent pas être captés avec l'antenne FM
fournie. Utilisez un câble coaxial 75 Ω si le son entendu s'accompagne
de beaucoup de bruit.
L
AUX IN
OPTICAL
DIGITAL
IN
MD
DAT
