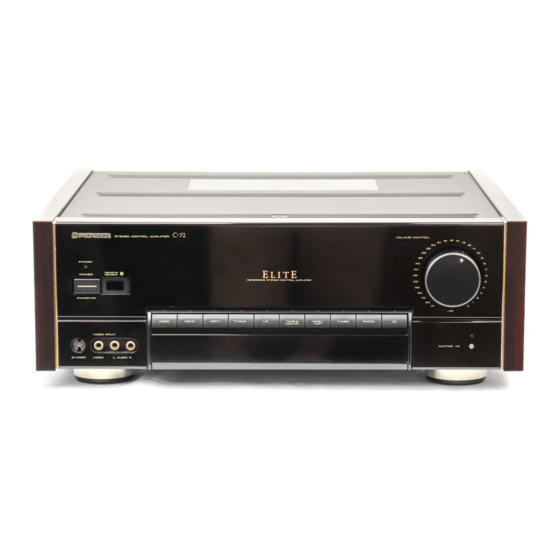
Pioneer SX-201 Instrukcja obsługi - Strona 14
Przeglądaj online lub pobierz pdf Instrukcja obsługi dla Wzmacniacz Pioneer SX-201. Pioneer SX-201 17 stron. Stereo control amplifier
Również dla Pioneer SX-201: Instrukcja obsługi (28 strony)

TO LISTEN TO OTHER MUSIC
1. Press the POWER switch to the ON position. Also
turn on the power to the stereo components you
wish to use.
2. Use the function buttons and tape monitor but-
ton as appropriate to select the desired program
source.
Select function according to the table on the right
3. Operate
the
appropriate
stereo
component
to
play back the program source.
4. Adjust the volume with the VOLUME control and
the tone with the GRAPHIC EQUALIZER controls.
TAPE RECORDING
SOURCES
Function
TAPE 2
buttons
MONITOR
button
To listen to a tape on the cas-
sette deck connected to TAPE 2 |
=
ON
MONITOR
jacks.
| To listen to TAPE1/DAT
TAPE1
OFF
{DAT
|
| To listen to the component con-
VCR/ILD
|
OFF
nected to VCR/LD jacks
To listen to a CD
cD
OFF
To listen to records
PHONO
OFF
You can record an FM or AM broadcast, or a sound source con-
nected to the VCR/LD, CD, PHONO terminals.
1. Press the POWER switch to the ON position.
2. Select the sound source to be recorded.
3. Operate
the cassette
deck
connected
to the
TAPE 1/DAT or TAPE 2 MONITOR terminals.
4. Turn on (or start) the sound source to be record-
ed.
© For details of operating the cassette deck, read the operating
instructions of the cassette deck
When two cassette decks are used, the sound played back on the
deck connected to the TAPE 1/DAT jacks can be recorded on the
deck connected to the TAPE 2 jacks.
e To make
a tape copy with contents identical to the original
tape.
© To edit a recording of an FM broadcast in order to cut out un-
wanted commercials, recording only the desired material onto
another tape
TAPE 1/DAT
hen using two cassette decks]
Oad the playback
tape
(i.e. the pre-recorded
ape} in the deck connected to the TAPE 1/DAT
icks, and the tape to be recorded in the other
eck connected to the TAPE 2 jacks.
fess the TAPE 1/DAT button.
3. Operate the cassette decks to begin copying.
Set the cassette deck with the non-recorded tape to the record-
ing mode, and set the cassette deck with the original tape to the
playback mode.
<ARB1357>
