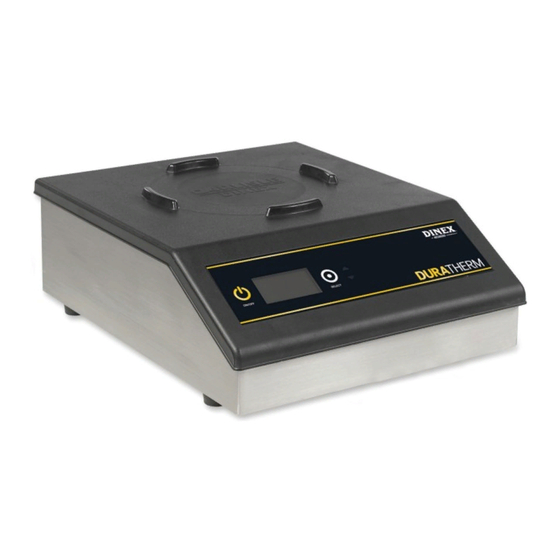
Dinex DuraTherm 2011208 Instrukcja obsługi i konserwacji - Strona 4
Przeglądaj online lub pobierz pdf Instrukcja obsługi i konserwacji dla Ładowarka Dinex DuraTherm 2011208. Dinex DuraTherm 2011208 13 stron. 208v, 3-phase

DuraTherm
failure to comply with installation requirements.
!
CAUTION: Please do not attempt to open
the charger or perform service of any
kind. This product can only be serviced
by a Dinex
Authorized Service Agent or
®
designated Dinex
Dinex
at 1-888-673-4639 for service
®
information.
!
CAUTION: Any installation not matching the
requirements discussed in this manual will
automatically void the product's warranty.
INSTALLATION
1. The DuraTherm
Charger can be installed
™
on top of a flat, level countertop or shelving,
being careful to maintain at least two
inches of clearance on all sides of the
charger for cooling. Do not place over
paper or loose material that may inhibit air
flow into the bottom air intakes. Consider
the Dinex
Induction Stand (Accessory
®
product) DXICTABLEM (Mobile with casters)
DXICTABLE (Not mobile).
2. The charger must be plugged into a
grounded 208V 3-phase, 20A receptacle.
Check rating plate on the charger to verify
correct voltage.
!
IMPORTANT: Each charger should be
connected to its own dedicated circuit.
They should not be connected to circuits
sharing compressors or other heavy current
draw devices (i.e. plate heaters, steam
tables, etc.)
3. Do not move the DuraTherm
it is electrically connected.
4. Two grease filters are mounted to the
bottom of the unit. Assure each is seated
and free of excessive debris or grease.
4
™
personnel. Contact
®
Charger when
™
OPERATION
INSTRUCTIONS
DuraTherm Induction System
1. Make sure that your DuraTherm
is plugged into an energized circuit
as described in the previous section.
This should be a dedicated circuit, not
shared with any devices utilizing motors,
compressors, or components requiring a
heavy current draw.
USER INTERFACE:
LCD
Info Center
POWER key will turn the unit on and off.
SELECT key will be used to reset error
conditions, clear informational messages, and
select or set options.
UP/DOWN arrow keys (these are not
embossed – just right of the SELECT key) are
used to move among Manager Options in the
OPTIONS menu.
LCD Info Center provides feedback on the
status of bases charging and equipment
operation.
2. The DuraTherm
Charger is turned on by
™
pressing the POWER button on the left front
of the switch panel. The LCD Info Center
will display "Waiting for base..." indicating
the DuraTherm
Charger is turned on and
™
ready for use.
Charger
™
