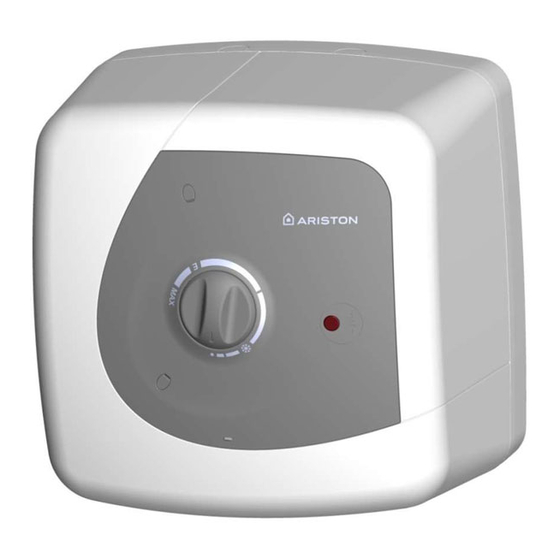
Ariston STAR 15 OR 800 ID Podręcznik użytkownika - Strona 9
Przeglądaj online lub pobierz pdf Podręcznik użytkownika dla Podgrzewacz wody Ariston STAR 15 OR 800 ID. Ariston STAR 15 OR 800 ID 13 stron. Electric water heater

ID
Petunjuk pemasangan
Pemanas air harus dipasang sedekat mungkin dengan lokasi penggunaan, yakni
untuk mencegah penyebaran panas disepanjang pipa.
Untuk mendukung kegiatan pemeliharaan, sisakan jarak sekitar 50cm agar
komponen listrik dapat dijangkau dengan mudah.
Kait pemasangan dinding harus mampu menahan berat sebesar tiga kali berat unit
pemanas air yang diisi air. Disarankan untuk menggunakan kait berdiameter 10
mm.
Sekrup pendukung hanya gunakan untuk dinding beton atau dinding yang
padat, pemakai diperbolehkan untuk menggunakan jenis sekrup yang sesuai
menurut struktur dari dinding.
Untuk kapasitas 10 – 30 L
Pemanas air ini adalah model yang dipersiapkan untuk pemasangan unit. Inlet dan
Outlet menghadap ke bawah (above sink) atau pemasangan unit. Inlet dan Outlet
menghadap ke atas (under sink).
Pasang kait dinding yang disediakan pada dinding, kemudian kencangkan baut dari
bracket dengan ukuran yang sesuai untuk tipe dinding. Pasang pemanas air ke
kait dinding, lalu tarik ke bawah untuk memastikan bahwa pemanas air tersebut
sudah terpasang dengan benar.
Saluran air
Sambungkan saluran air masuk dan saluran air keluar dengan pipa atau alat
yang tahan terhadap tekanan air dan temperatur air panas yang biasanya
dapat mencapai 80ºC lebih. Oleh karena itu kami menyarankan agar tidak
menggunakan material yang rentan terhadap temperatur tinggi. Pasang sambun-
gan "T" ke pipa saluran masuk air dingin dengan Stop kran. Pada salah satu
sisi sambungan "T", pasang Kran untuk mengosongkan pemanas air
yang hanya dapat dibuka dengan menggunakan alat (B gambar 1). Pada sisi
lain dari sambungan "T", pasang katup pengaman yang disediakan (A gambar 1).
Bagian ini harus tersambung dengan distribusi air dingin melalui pipa fleksibel.
Jika Kran pengosongan perlu dibuka, maka pipa pembuangan untuk keluar juga
harus dipasang (C gambar 1).
Pada saat memasang katup pengaman, jangan mengencangkan terlalu kuat dan
jangan melakukan modifikasi pada katup yang sama.
Katup pengaman dipasang sesuai dengan nilai pada label teknik. Sedikit tetesan
air adalah normal selama berlangsung pemanasan; untuk itu kami menyarankan
anda menghubungkan selang pembuangan pada katup ini (biarkan selalu
terbuka) yang dipasang agak miring mengarah bawah agar tidak menimbulkan
kondensasi.
Jika tekanan pada pipa saluran air inlet mendekati batas nilai katup, pasan-
glah unit penurun tekanan sejauh mungkin dari unit pemanas air.
Jika dipasang unit pencampur (kran atau penyemprot), bersihkan pipa dari
semua kotoran yang dapat menimbulkan kerusakkan.
Sambungan "Saluran keluar terbuka"
Untuk pemasangan tipe ini diperlukan penggunaan kran air yang sesuai dan
lakukan penyambungan seperti tampak pada gambar skema 1A.
Dengan cara ini pemanas air dapat bekerja pada semua tekanan.
16
If the appliance has no power supply cable, it can be connected to the mains
with a rigid tube or a fixed cable
Starting and
Before supplying the electrical power, fill the heater with water from the mains by
testing
opening the main tap of the home plant the hot water tap until there is no more air
in the heater.
Check for water leaks, including the flange and tighten slightly if necessary. In case of
models with self locking flange make sure that the position of the flange is centred;
eventually tighten with moderation the nut located at the center of the flange
bracket.
Press the switch to supply power to the appliance. For models which are not fitted
with a switch, provide electrical power by turning the control knob in a clockwise
direction.
In models without the temperature regulation knob, the thermostat is set to
Adjusting
maximum position; if you wish to decrease the temperature to save consump-
the
tion, unplug the appliance from the mains, remove the cover and turn the thermo-
operating
stat knob carefully with a screwdriver in the sense indicated by the adjustment
temperature
referencies + / - marked on the knob.
Maintenance instructions
All repairs and maintenance work must be carried out by qualified staff. Before
calling your Technical Servicing Centre, check that the fault is not due to lack of
water or power failure.
Disconnect the appliance from the electrical mains.
Replacing
Remove the cover to work on the electrical parts.
parts
To work on the thermostat remove it from the housing and disconnect it from the
mains.
To work on the heating element, and the anode, first empty the appliance by closing
the mains tap and allow the water to flow from inside the same throught the supply
pipe after having opened the emptying tap and opening the hot water tap.
In the case of the models with self-locking flange, remove the nut, then the flange
fixing bracket and push the flange outwards from the inside and remove it with a
semi-circular movement.
When remounting remember to replace the flange gasket, the thermostat and the
heating element into their original positions. When removing the above, we recom-
mend replacing the flange gasket.
Periodical
To ensure the best performance from this appliance, descale the heating element
maintenance
once every two years.
If you prefer not to use special descaling acids for this operation, simply crumble
away the lime deposit without damaging the heating element.
Replace the magnesium anode every two years. To do so, dismount the heating
element and unscrew the anod from the support bracket.
Bipolar
If the water overheats, a thermal switch complying with CEI-EN regulations, interrupts
safety
the electrical circuit on both supply phases to the heating element. In this case
reactivation
call your Technical Servicing Centre to reactivate it.
Safety valve
In those models equipped with a safety valve with a lever, the latter can be used,
by lifting it up, to:
- empty out the appliance, if necessary,
- check on a regular basis (every month) that the valve is operating correctly.
GB
9
