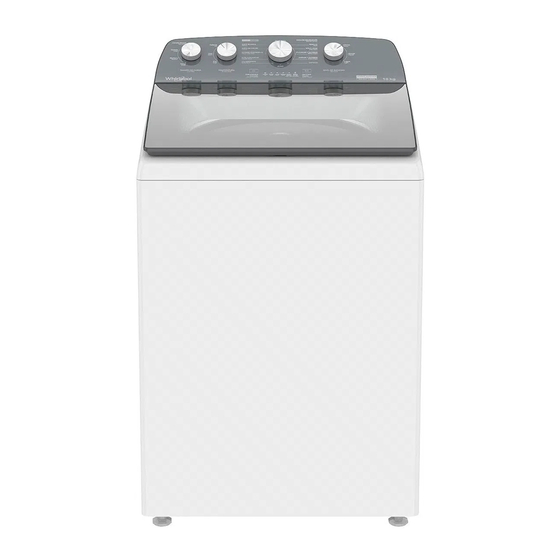
Whirlpool 8MWTW1824 Instrukcja obsługi i konserwacji - Strona 27
Przeglądaj online lub pobierz pdf Instrukcja obsługi i konserwacji dla Spryskiwacz Whirlpool 8MWTW1824. Whirlpool 8MWTW1824 41 stron.

2.
A dd detergent
IF YOU USE LIQUID
DETERGENT, ADD IT
DIRECTLY TO THE BASKET
Depending on the model of your washer, you may add the
detergent this way:
Liquid Detergent
Add the liquid detergent in the lower part of the basket before
adding the garments. Liquid detergent always is added to the
basket before, no matter which model your washer is (with or
without dispenser).
Powder Detergent
Add a measure of powder detergent in the detergent compartment.
If the amount of detergent to be used exceeds the container
capacity, or if your model does not have a dispenser, add it directly
to the tub, before adding clothes. If you are going to use a product
to improve washing, as Oxi or color safe bleacher, add it too in the
bottom of the washing tub before adding garments.
IMPORTANT: Follow manufacturer's instructions to determine
the detergent amount to use.
3.
Add chlorine liquid bleacher to the dispenser
Do not overfill, dilute or use more than 1 cup (250 ml). Do
not use color safe bleacher or products like Oxi in the same
cycle with chlorine liquid bleacher.
4.
Add fabric softener to the dispenser
SOFTNER
4.1 For models with dispenser, pour an amount of the
measure indicated of fabric softener in the container. Always
follow the manufacturer's instructions to use the correct
amount of fabric softener for the load size. Close the
dispenser drawer.
IMPORTANT: Do not overfill or dilute. If it overfills the
dispenser it may cause the softener falls into the washer. It is
normal that a small amount remains in the dispenser at the
end of the cycle.
4.2 For models without dispenser, add a measure of the
liquid fabric softener in the agitator deposit. Always follow
the manufacturer's instructions to use the correct amount of
fabric softener for the load size.
Dilute the liquid fabric softener filling the deposit with warm
water until the liquid comes to the inferior edge. See the
arrows of the maximum filling line.
5.
Load the clothes in the washer
Load the garments evenly in loosen bulks around the tub for
better results. Do not wrap big items such as blankets
around the agitator/Impeller 3D®; load them in loosen
bulks around the basket. Try to mix different sizes so they
are less likely to tangle.
6.
Turn the washer on
Press the Power/Cancel button to turn on your washer.
NOTE: Cycles and options selected will not be
registered if your washer is off. You must turn it on
first.
7.
Select a cycle
Turn the knob of the cycles to select the washing cycle of
your preference. For more details about each cycle, see
"Cycles Guide".
MAXIMUM
FILL
LOAD MAXIMUM
HEIGHT
*Illustrative image, not all the cycles are
available for all the models. Verify which
cycles apply to your washer.
27
