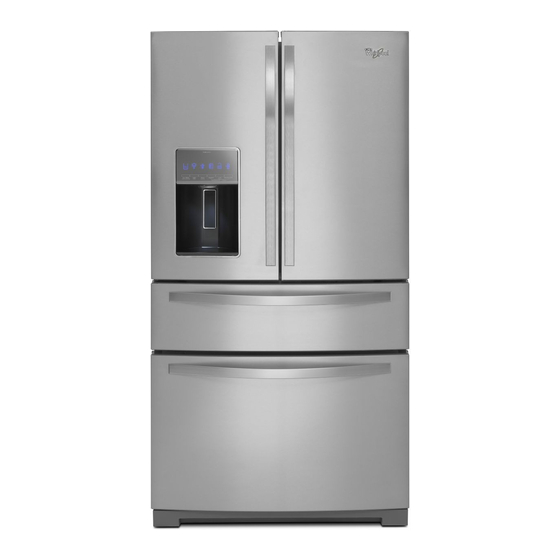
Whirlpool WRX988SIBM Instrukcje instalacji i instrukcja obsługi - Strona 5
Przeglądaj online lub pobierz pdf Instrukcje instalacji i instrukcja obsługi dla Lodówka Whirlpool WRX988SIBM. Whirlpool WRX988SIBM 48 stron. Bottom mount refrigerator
Również dla Whirlpool WRX988SIBM: Podręcznik dotyczący energii (1 strony)

Remove Right-Hand Refrigerator Door
WARNING
Electrical Shock Hazard
Disconnect power before removing doors.
Failure to do so can result in death or electrical shock.
1. Unplug refrigerator or disconnect power.
2. Keep the refrigerator doors closed until you are ready to lift
them free from the cabinet.
NOTE: Provide additional support for the refrigerator door
while the hinges are being removed. Do not depend on the
door gasket magnets to hold the door in place while you are
working.
3. Using a Phillips screwdriver, remove the cover from the Top
Hinge.
4. Using the
" hex key wrench, remove the two internal hex
head screws from the top hinge, and set aside.
NOTE: Do not remove the two locator screws. These screws
will help you align the hinge when you replace the door.
C
A. Top hinge cover screw
B. Top hinge cover
WARNING
Excessive Weight Hazard
Use two or more people to lift the refrigerator door.
Failure to do so can result in back or other injury.
5. Lift the refrigerator door from the bottom hinge pin. The top
hinge will come away with the door.
A
B
D
C.
" Internal hex head screws
D. Top hinge
Remove Left-Hand Refrigerator Door
IMPORTANT: The tubing and wiring for the water dispenser run
through the left-hand door hinge, so they must be disconnected
before removing the door.
1. Using a Phillips screwdriver, remove the cover from the top
hinge.
A
B
A. Top hinge cover screw
2. Disconnect the water dispenser tubing located on top of the
door hinge.
Style 1 - Press the outer ring against the face of the fitting and
gently pull the dispenser tubing free.
NOTE: The water dispenser tubing remains attached to the
left-hand refrigerator door.
A B
A. Outer ring
B. Face of fitting
Style 2 - Firmly pull up on the clasp. Then, pull the tubing out
of the fitting.
NOTE: The water dispenser tubing remains attached to the
left-hand refrigerator door.
B. Top hinge cover
5
