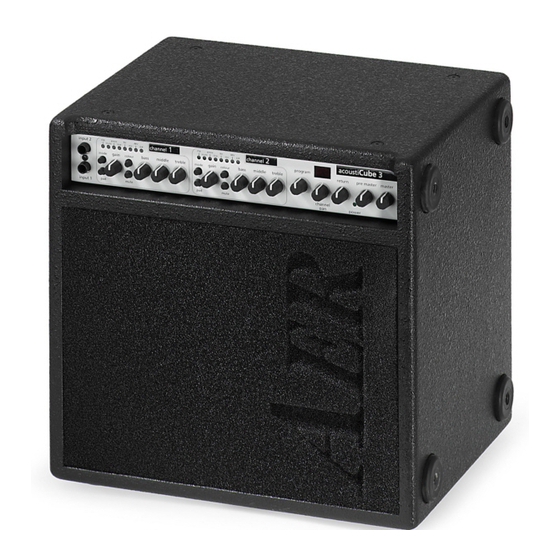
AER acousti Cube 3 Instrukcja obsługi - Strona 2
Przeglądaj online lub pobierz pdf Instrukcja obsługi dla Wzmacniacz AER acousti Cube 3. AER acousti Cube 3 17 stron.

acoustiCube 3
2. Precautionary Measures
When using your acoustiCube 3, always take basic safety precautions to reduce the risk
of injury by fire or electric shock to a minimum.
Read all the directions in these operating instructions and
make sure that you understand them.
Pay attention to all warnings, instructions and supplementary
text written on the acoustiCube 3.
Always use a grounded mains connection with the appropriate
voltage supply. If you doubt whether the connection is groun-
ded, have a qualified expert check it.
Please replace blown fuses only with those of the same type
and rating. Do not repair them!
When using your acoustiCube 3 always take basic safety pre-
cautions to reduce to a minimum the risk of injury by fire or el-
ectric shock.
Always operate your acoustiCube 3 in a safe place where no
one can trip over the cables to avoid accidents or damages.
Do not operate your acoustiCube 3 near devices with strong el-
ectromagnetic fields such as large mains transformers, genera-
tors, neon lights etc. Do not lay the signal cable parallel to
power lines.
Ensure that your acoustiCube 3 is switched off before plugging
the power cable into the mains.
Before cleaning your acoustiCube 3, unplug it from the mains
supply. Use a damp cleaning cloth. Do not use cleaning agents,
and be careful that no liquid finds its way into the amp.
There are no parts within your acoustiCube 3 that can be servi-
ced by the user. Refer repairs and servicing to an agent autho-
rised by AER.
Any unauthorised repair or servicing will invalidate the
two-year warranty!
-2-
Should 48/9V phantom power be needed, first establish the
proper cable connection (balanced cable or XLR plug or
6.3 mm stereo plug) and then switch on the amplifier. Other-
wise the operating voltage will cause a short-circuit and en-
danger the functioning of your amplifier.
C
