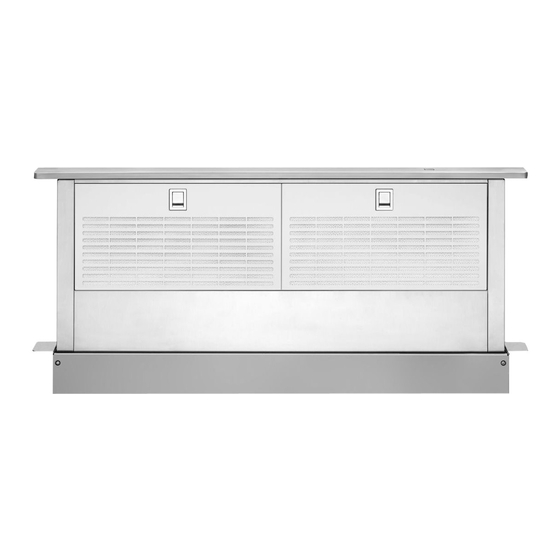
Whirlpool W10388422 Instrukcje instalacji oraz instrukcja obsługi i konserwacji - Strona 7
Przeglądaj online lub pobierz pdf Instrukcje instalacji oraz instrukcja obsługi i konserwacji dla Okap wentylacyjny Whirlpool W10388422. Whirlpool W10388422 36 stron. 30" (76.2 cm) and 36" (91.4 cm) retractable (pop-up) downdraft vent system

Observe all governing codes and ordinances.
Ensure that the electrical installation is adequate and in
conformance with National Electrical Code, ANSI/NFPA 70 (latest
edition), or CSA Standards C22.1-94, Canadian Electrical Code,
Part 1 and C22.2 No. 0-M91 (latest edition) and all local codes
and ordinances.
If codes permit and a separate ground wire is used, it is
recommended that a qualified electrician determine that the
ground path is adequate.
A copy of the above code standards can be obtained from:
National Fire Protection Association
1 Batterymarch Park
Quincy, MA 02169-7471
CSA International
8501 East Pleasant Valley Road
Cleveland, OH 44131-5575
A 120 volt, 60 Hz., AC only, 15-amp, fused electrical circuit is
required.
IMPORTANT: Make sure there is proper clearance within the wall
or floor before making exhaust vent cutouts.
Use heavy (rigid) metal vent.
Venting system must terminate to the outside.
Do not terminate the vent system in an attic or other enclosed
area.
Do not use 4" (10.2 cm) laundry-type wall caps.
Do not install 2 elbows together.
Do not use plastic or metal foil vent.
The length of vent system and number of elbows should be
kept to a minimum to provide efficient performance.
Use no more than three 90° elbows
Make sure there is a minimum of 24" (61 cm) of straight vent
between the elbows if more than one elbow is used.
Use clamps or duct tape to seal all joints in the vent system.
Use caulking tape to seal the exterior wall or floor opening
around cap.
Do not cut joist or stud. If vent cutout falls over a joist or stud,
a supporting frame must be constructed.
Flexible metal vent is not recommended. If it is used, calculate
each foot of flexible vent as 2 ft (0.6 m) of rigid metal vent.
Electrical Requirements
If the house has aluminum wiring, follow the procedure
below:
1. Connect a section of solid copper wire to the pigtail
2. Connect the aluminum wiring to the added section of
Follow the electrical connector manufacturer's recommended
procedure. Aluminum/copper connection must conform with
local codes and industry accepted wiring practices.
Wire sizes and connections must conform with the rating of
the appliance as specified on the model/serial rating plate.
The model/serial plate is located on the front of the downdraft
vent, above the wiring box cover.
Wire sizes must conform to the requirements of the National
Electrical Code, ANSI/NFPA 70 (latest edition), or CSA
Standards C22. 1-94, Canadian Electrical Code, Part 1 and
C22.2 No. 0-M91 (latest edition) and all local codes and
ordinances.
Venting Requirements
Flexible elbows count twice as much as standard elbows.
Recommended vent system length:
For either interior-mounted or exterior-mounted blower
installations, the vent system length should not exceed the
maximum lengths listed in the Maximum Length of Vent System
chart. See "Calculating Vent System Length" in the "Venting
Methods" section in the Installation Instructions.
Cold Weather Installations
An additional back draft damper should be installed to minimize
backward cold air flow and a thermal break should be installed to
minimize conduction of outside temperatures as part of the vent
system. The damper should be on the cold air side of the thermal
break.
The break should be as close as possible to where the vent
system enters the heated portion of the house.
Makeup Air
Local building codes may require the use of makeup air systems
when using ventilation systems greater than specified CFM of air
movement. The specified CFM varies from locale to locale.
Consult your HVAC professional for specific requirements in your
area.
leads.
copper wire using special connectors and/or tools
designed and UL listed for joining copper to aluminum.
7
