Clare Controls ClareVision Plus Skrócona instrukcja obsługi - Strona 3
Przeglądaj online lub pobierz pdf Skrócona instrukcja obsługi dla DVR Clare Controls ClareVision Plus. Clare Controls ClareVision Plus 9 stron. Ip cctv cameras
Również dla Clare Controls ClareVision Plus: Skrócona instrukcja obsługi (9 strony), Skrócona instrukcja obsługi (2 strony), Skrócona instrukcja obsługi (6 strony), Podręcznik (9 strony)
b. (Optional 4-Channel NVR only) You can save a GUID to access your
password later using a USB storage device, otherwise, select Save.
Note: The cameras can take up to 5 minutes to come online. You must
refresh your browser to view all activated cameras.
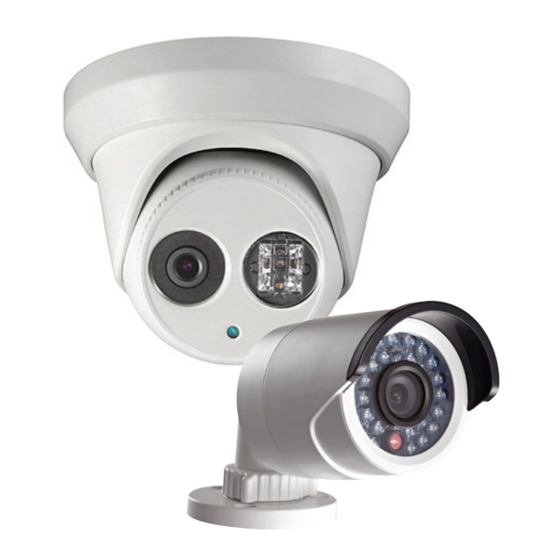
4. All ClareVision Plus cameras are pre-configured to detect motion.
Note: To maximize disk space, we recommend recording on motion
see the full NVR manual's
detection,
detailed
instructions.
5. (4-Channel NVR only) Enable the ClareVision Plus service.
a. Access Platform Access.
Configuration > Network > Advanced Settings > Platform Access
b. Click Enable.
c. The dialog box displays, tap Create Verification Code.
Note:
The created verification code is used to activate the NVR in a
later step.
d. Click Save.
6. (Optional) Set a Static IP for the NVR.
Note: We strongly recommend using a static IP or DHCP reservation if using
your NVR in conjunction with a ClareHome automation or using DDNS.
Configure the IP address
a. Browse to Network.
Configuration > Network
b. Deselect the DHCP checkbox, and then enter the static IP address.
c. Click Save.
Set a DHCP reservation
a. Refer to the router's documentation for instructions on setting up a
DHCP reservation for the NVR on your network.
7. Access the Live View tab and verify that all cameras are online by tapping
the icon next to each camera name.
If using Internet Explorer, you must configure compatibility mode to view
the cameras.
a. Open IE settings (Tools icon in top right of window).
b. Click Compatibility Listing Settings.
c. Add the NVR's IP address to the compatibility list, and then click
Close.
DOC ID - 1539 • Rev 09
Record and Capture Settings
for
3 / 9