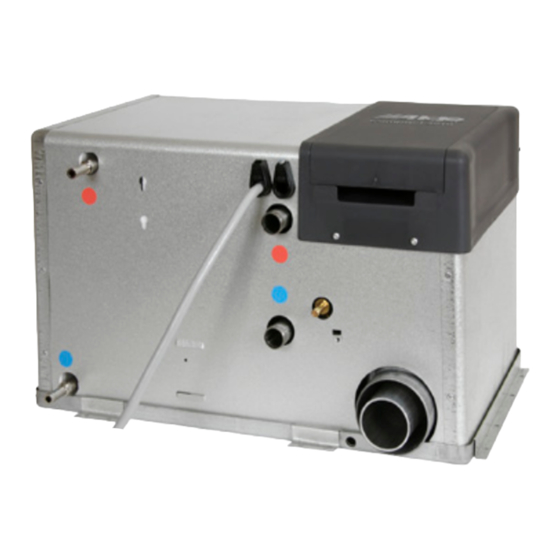
Alde Compact 3020 HE Instrukcja obsługi i instrukcja instalacji - Strona 3
Przeglądaj online lub pobierz pdf Instrukcja obsługi i instrukcja instalacji dla Kocioł Alde Compact 3020 HE. Alde Compact 3020 HE 8 stron.
Również dla Alde Compact 3020 HE: Instrukcja obsługi (19 strony), Poprawka do instrukcji instalacji (4 strony)

OPERATING INSTRUCTIONS – COMPACT 3020
Please read these instructions care-
fully before using the boiler for the ! rst
time. The operating and installation
instructions for the control panel are
provided separately.
These instructions are approved for the
Alde Compact 3020 boiler ! tted in cara-
vans, motor caravans or buildings in
accordance with CE 0402 no. SC0653-13
and have the E5 mark for installation in
vehicles in accordance with ECE R122,
no. 00 001 and R10, no. 04 166.
Installation and repairs may only be car-
ried out by a specialist. Always comply
with national regulations.
BOILER DESIGN
The boiler consists of three eccentrically
mounted pipes (the heat exchanger, the
water jacket for the heating system and,
on the outside, the water jacket for the
hot water). The two outer pipes, and their
ends and connections, are made of stain-
less steel, while the heat exchanger is
made of aluminium.
The heat exchanger is split into two
hemispheres. The burner is located in
the top half which forms the combustion
chamber, and the " ue gases are expelled
through the bottom half.
The burner unit is mounted on the end of
the heat exchanger. It consists of a com-
bustion fan, burner, solenoid valve and
intake/exhaust gas connections.
Two electric elements are ! tted in the
water jacket for the heating system
Their maximum output is 2 or 3 kW
depending on the model.
DESCRIPTION OF FUN-
CTIONS
Operation using LPG
When LPG operation is selected on the
control panel, the combustion fan starts
up. Once the correct speed is attained, a
signal is sent to the circuit board that the
boiler can be lit. Ignition sparks are sent
from the spark plug at the same time as
the solenoid valve opens to allow gas in.
The burner ignites, and a sensor trans-
mits a signal back to the circuit board
that the boiler is lit, and the ignition spark
stops. The burner keeps burning until the
boiler thermostat or the room thermostat
reaches the set temperature value.
Should the boiler go out for any reason,
the sensor will detect this and a new
attempt is made to start the boiler (for
about 10 seconds).
Operation using the electric hea-
ting element(s)
When electrical operation is selected in
one of the power modes on the control
panel, the 12-volt relays on the circuit
board trip, allowing the 230-240 volt
supply to reach the electric elements. The
electric elements are controlled in the
same way as the LPG boiler.
Domestic hot water
When hot water only is required, during
the summer for instance, no settings need
be made; the boiler looks after this fun-
ction automatically.
The pump will only start once the tempe-
rature in the vehicle is lower than the set
temperature (see point 4, control panel).
If the temperature in the vehicle is higher,
the pump will not start.
IMPORTANT INFORMATION
• The boiler must not be started if
there is no ethylene glycol " uid in the
system.
• Ethylene glycol " uid may be heated
even if the hot water heater is not ! lled
with freshwater.
• The LPG boiler and electric elements
may be operated simultaneously.
• Always switch off the main isolating
switch for the boiler when the vehicle is
not in use.
• Always drain the hot water heater of
freshwater if there is a risk of frost.
• The LPG boiler must not be in opera-
tion when refuelling the vehicle at a
garage or similar.
• When washing the vehicle, take care
not to wash right up against the roof
vent.
THE DOMESTIC HOT
WATER HEATER
The boiler is ! tted with a built-in hot water
heater which can hold approximately 8.5
litres of freshwater. The hot water heater
can produce around 12 litres of 40°C
water per half-hour (at a cold water tem-
perature of 10°C). If the electric elements
are used instead of gas for heating the
water heater, the capacity is slightly redu-
ced.
Always " ush out the heater before it is
used, particularly if it has not been in
operation for some time.
NB" The hot water is not intended as
drinking water or for cooking purposes.
When the heater is in continuous use, it
should be emptied approximately once a
month, to create a new air cushion inside
it. The air cushion is used to absorb pres-
sure surges in the heater.
For emptying specially-adapted
boilers, as well as the vehicle's general
freshwater system, please refer to the
manufacturer's instructions.
NB" The hot water heater should
always be drained down completely
when there is a risk of frost and the
vehicle is not in use. The warranty
does not cover frost damage.
1. Switch off the freshwater pump.
2. Open all water taps.
3. Then open the safety/drain valve by
raising the yellow lever (M) to a vertical
position, or by turning the knob (K) 180°.
4. The heater will now drain directly below
the vehicle through the safety/drain
valve hose. Check that all the water is
emptied out (about 7-10 litres). Leave
the valve in the open position until the
next time the heater is used.
NB" Check that the automatic non-return
valve (N) is open and is allowing air to
enter the heater when it is being drained,
and that the hose is not blocked.
Opening the manual
safety/drain valve
Cosed
Open
Opening the automatic
safety/drain valve
N
M
K
9
