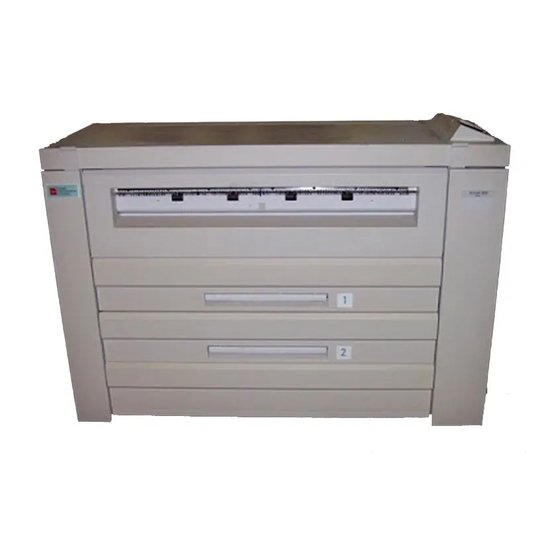
Xerox Synergix 8850 Instrukcja konfiguracji - Strona 6
Przeglądaj online lub pobierz pdf Instrukcja konfiguracji dla Oprogramowanie Xerox Synergix 8850. Xerox Synergix 8850 20 stron. Windows nt 4.0 postscript print driver user guide
Również dla Xerox Synergix 8850: Uwaga dotycząca wydania (23 strony), Uwaga dotycząca wydania (8 strony), Podręcznik szkoleniowy dla klientów (50 strony), Instrukcja oprogramowania (30 strony)

Web Print Management Tool
Overview
As part of the FreeFlow Accxes firmware, the Web Print Management Tool is accessed from your
workstation using the Netscape 8.0 (or newer), Internet Explorer 6.0 (or newer), or Mozilla 1.7.5
(or newer) and Mozilla FireFox 1.5 (or newer) web browser. To access the Web Print
Management Tool, you need to enter the IP address of your printer in the URL box of your
browser ("Address" in Explorer or "Location" in Netscape) and press ENTER.
The Web Print Management Tool enables three major functions:
Provides print job management and status tracking
Provides control over the printer's default settings
Provides a method to enable job accounting for printing, copying and scanning media
usage data to be saved in the FreeFlow Accxes Controller's job log file. The data is
retrieved via an External Account Server, such as the Account Management Tool (AMT).
Note that this tool does not manipulate any network operating system print queues, such as UNIX
lpr/lpd queues.
Starting the Web Print Management Tool
When accessing the Web Print Management Tool, you must have a working connection between
your computer and the printer's FreeFlow Accxes Controller. To access the Web Print
Management Tool perform the following steps:
•
Start your Web browser. If your browser starts up in the Mail or News mode, go to the
Browser mode.
•
To access the Web Print Management Tool, you may need to set your browser so that it
will not try to access the FreeFlow Accxes Controller through a proxy server. To deselect
a proxy connection within your browser, perform the following steps.
Deselecting a Proxy in Netscape
•
Select Preferences from the Edit menu.
•
Click on the drop arrow next to the Advanced item and click on Proxies.
•
In the Proxies dialog, select Direct connection to the Internet.
•
Click OK.
Deselecting a Proxy in Internet Explorer
•
Select Tools > Internet Options from the toolbar.
•
Click on the Connections tab > LAN Settings.
•
Deselect the Access the Internet using a proxy server check box.
•
Click OK.
•
In the browser URL box enter http:// followed by the printer's IP address, (for example, for
the YKE/YKE-N - http://13.240.20.38. If you don't know the printer's IP address, see your
System Administrator or the test print set produced at the time of your printer's
installation. When the power is switched on the 721p printer, the controller also sends a
test print to the printer.
•
Configure Remote Printer Page (6030/6050 WIDE FORMAT printers only):
- Select UTILITIES > Configure Remote Printer
- Put in the IP address of the remote printer, and the job queue name of that printer,
where FreeFlow Accxes will send the print job data to the 6030/6050. The LPR remote
job queue name is in the plt (00-99) format, with an extension letter of t, c, h, p, v, or
FreeFlow Accxes Printer System and Web Print Management Tool Setup Guide
2
