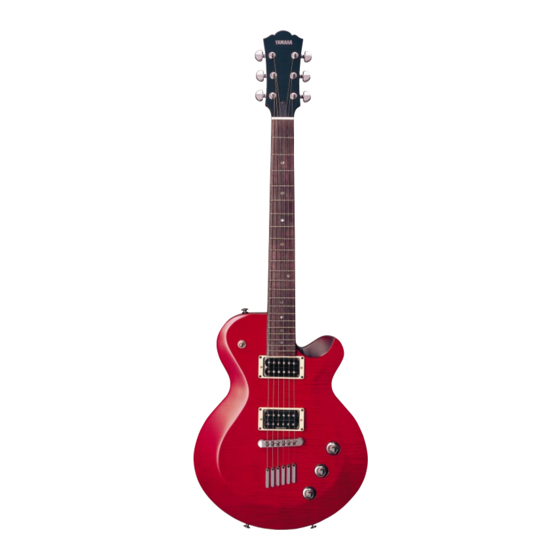
Yamaha AES620 Instrukcja obsługi - Strona 3
Przeglądaj online lub pobierz pdf Instrukcja obsługi dla Instrument muzyczny Yamaha AES620. Yamaha AES620 14 stron. Owners manual
Również dla Yamaha AES620: Instrukcja serwisowa (4 strony)

- 1. Table of Contents
- 2. Care and Maintenance
- 3. Tuning Machine Tension Adjustment
- 4. Height Adjustable Locking Nut
- 5. Setting the String Action
- 6. VIBRATO SYSTEM Vintage Type
- 7. VIBRATO SYSTEM Locking Type (Part 1)
- 8. VIBRATO SYSTEM Locking Type (Part 2)
- 9. Bridge/Spring Tension Adjustments
- 10. Truss Rod Adjustment
- 11. Pickup Height Adjustment
- 12. Correct Use and Handling of Batteries
- 13. Safety Precautions
TUNING MACHINE TENSION ADJUSTMENT
The tuning machines have spring-loaded mechanisms which
automatically take up wear, preventing backlash. However, it is
possible to adjust the amount of pressure required to turn the
machines. Each machine has a tension adjustment screw, as
illustrated.
Loosen
Tighten
Clockwise screw rotation tightens the machine. The tuning ma-
chines should be adjusted to the extent that they are firm, but
can turn smoothly. This adjustment is normally unnecessary,
and excessive tightening can lead to premature tuning machine
wear.
HEIGHT ADJUSTABLE LOCKING NUT
1) Remove 3 pcs. of hexagonal screws fixing the Lock Pads.
(illustration — A)
2) Loosen 4 pcs. of screws fixing the Nut Base.
(illustration — B)
3) Adjust the height by the Height Adjustment Screw. The Nut
Base gets higher by clockwise rotation, and lower by coun-
terclockwise rotation. (illustration — C)
A
C
NOTE: As the height has been adjusted in the best con-
dition in the factory, please avoid the adjustment
unless you have suitable experience. We suggest
that you entrust this adjustment to your dealer.
3
B
