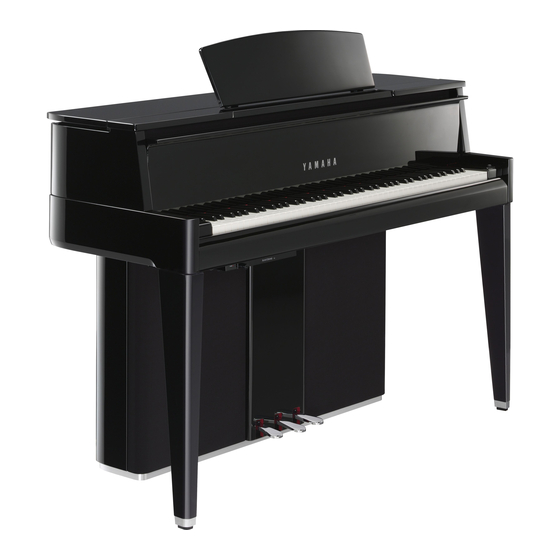
Yamaha AvantGard N2 Podręcznik konserwacji - Strona 42
Przeglądaj online lub pobierz pdf Podręcznik konserwacji dla Instrument muzyczny Yamaha AvantGard N2. Yamaha AvantGard N2 45 stron. Hybrid piano

N1
11) Determine the correct front/rear position of the damper
holder and tighten the screw from the arm top surface.
Standard 1 Make sure that with the key cover opened the
gap between the back of the black keys and
the front surface of the key cover is within
standard. (Fig. 3)
(Reference) Standard value B (at shipment):
3.3 mm +1.7 mm/-1.3 mm, difference on
the left and right within 1 mm. (Fig. 3)
<Side view>
KEY COVER
BLACK KEY
B
Standard 2: Make sure that with the key cover closed the
difference in level between the front surface
of the arm and the front of the key cover is
within the standard (especially the difference
on the left and right). (Fig. 4)
(Reference) Standard value C (at shipment):
3.2 mm ± 2 mm, difference on the left and
right within 2 mm. (Fig. 4)
<Side view>
C
KEY COVER
ARM
42
Fig. 3
Fig. 4
12) Drill a pilot hole in the inner surface of the arm matching
the hole in the damper holder.
Pilot hole: φ 2.1 mm ± 0.1 mm, depth 20 mm
13) Remove the damper holder and countersink the hole.
φ 5 mm x 90°
14) Attach the damper holder, repeat step 11) for front/back
position alignment, and tighten the screw of the damper
holder.
15) Install the arm upper assembly L. At this time, make sure
the distance between the front of the arm lower assembly
L and the front of the arm upper assembly L is 159.6 mm
± 0.5 mm. (Fig. 5)
<Side view>
159.6 mm±0.5 mm
ARM LOWER ASSEMBLY L
Fig. 5
16) Install the front board assembly. At this time, do not
secure the protect cover to the front board assembly.
17) Perform step (10) of "Key Cover Replacement
Procedure".
ARM UPPER ASSEMBLY L
