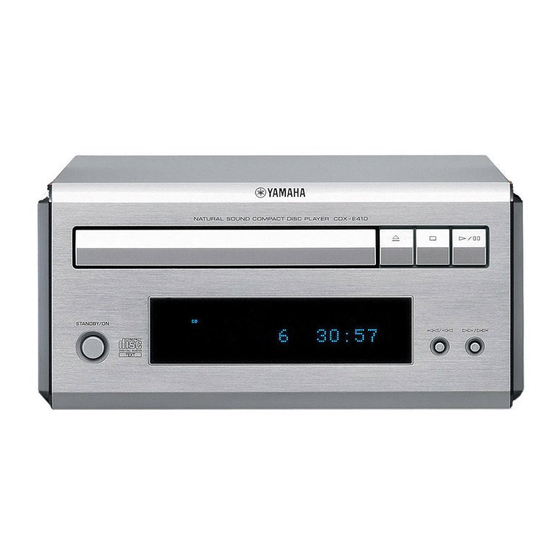
Yamaha CDX-E410 Instrukcja serwisowa - Strona 7
Przeglądaj online lub pobierz pdf Instrukcja serwisowa dla Odbiornik Yamaha CDX-E410. Yamaha CDX-E410 32 stron. Micro component system mcr-e410 cd player
Również dla Yamaha CDX-E410: Podręcznik (45 strony)

I DISASSEMBLY PROCEDURES
See REPLACEMENT PARTS LIST for item numbers.
Front Panel Ass'y
→ Open tray. (See "HOW TO MANUALLY
EJECT THE TRAY")
→ Unlock tray lid and close tray.
→ Remove CN52. (MAIN (1) P.C.B.)
→ Remove 2 screws. [53]
(Front panel ass'y to side frame)
→ Remove 2 screws. [51]
(Front panel ass'y to bottom frame)
→ Unlock front panel ass'y from frame
by releasing successively 2 snaps.
(2 on the side)
→ Remove front panel ass'y.
FRONT (1) P.C.B. [32 (1)]
→ Remove 10 snaps.
(P.C.B. to front panel ass'y)
→ Remove FRONT (1) P.C.B..
• Cable Connections
(FRONT (2) P.C.B.)
FRONT (2) P.C.B.
FRONT (1) P.C.B.
Top Cabinet [28]
→ Remove 4 screws. [60] (4 on side)
→ Remove 4 screws. [51]
(4 on rear side)
→ Lift top cover from rear side to remove.
CD Mechanism [36]
→ Open tray. (See "HOW TO MANUALLY
EJECT THE TRAY")
→ Unlock tray lid and close tray.
→ Remove CN21-23.
→ Remove 4 screws. [52]
(CD mechanism to P.C.B.
support)
→ Remove CD mechanism.
CN41
MAIN (2) P.C.B.
(MAIN (1) P.C.B.)
CN41
MAIN (1) P.C.B.
CN23
CN21
BN41
(FRONT (1) P.C.B.)
Mounting
Dismounting
MAIN (2) P.C.B. [34 (2)]
→ Remove 1 screw. [61]
→ Remove MAIN (2) P.C.B.
MAIN (1) P.C.B. [34 (1)]
→ Remove CN21-23, CN41
→ Remove 3 screws. [59]
→ Remove 1 screw. [54]
→ Remove 1 screw. [58]
→ Remove MAIN (1) P.C.B..
FRONT (2) P.C.B. [32 (2)]
→ Remove CN41 (FRONT (2)
P.C.B.) and CN41 (MAIN (1)
P.C.B.).
→ Remove 1 screw. [56]
(P.C.B. to bottom frame)
→ Remove 2 screws. [57]
(P.C.B. to bottom frame)
→ Remove FRONT (2) P.C.B..
CN22
CN52 (MAIN (1) P.C.B.)
CD Mechanism
CN52
CDX-E410
(P.C.B. to rear panel)
which is connected directly
to the lower P.C.B. with
connectors.
and CN52 (MAIN (1) P.C.B.).
(P.C.B. to rear panel)
(P.C.B. to bottom frame)
(P.C.B. to bottom frame)
7
