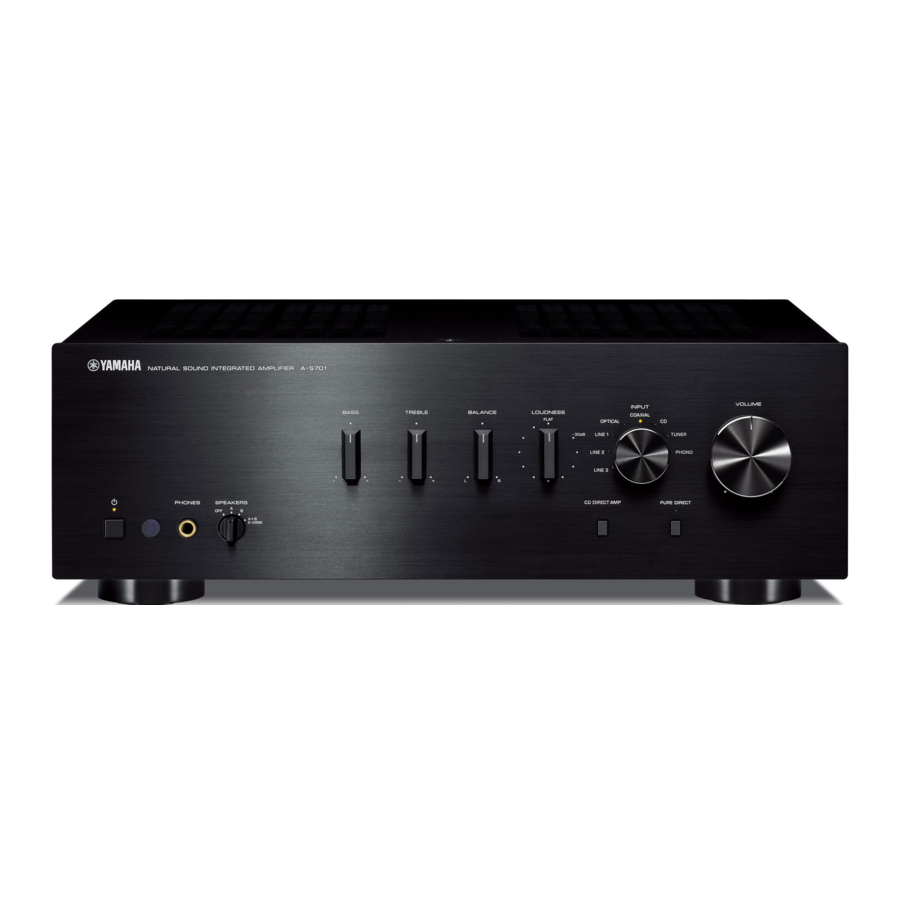
Yamaha A-S701 Instrukcja obsługi - Strona 18
Przeglądaj online lub pobierz pdf Instrukcja obsługi dla Wzmacniacz Yamaha A-S701. Yamaha A-S701 39 stron. Integrated amplifier
Również dla Yamaha A-S701: Podręcznik użytkownika (20 strony), Instrukcja obsługi (35 strony), Instrukcja obsługi (40 strony)

TROUBLESHOOTING
Problem
No sound.
The sound suddenly
goes off.
Only the speaker on
one side can be
heard.
There is a lack of bass
and no ambience.
A "humming" sound
can be heard.
The volume level
cannot be increased,
or the sound is
distorted.
The sound is
degraded when
listening with
headphones
connected to a CD
player connected to
this unit.
The sound level is
low.
The volume level is
low while playing a
record.
Using the BASS,
TREBLE, BALANCE
and LOUDNESS
controls does not
affect the sound.
14
En
Cause
Playback has been stopped on the
connected component.
No appropriate input source has been
selected.
The SPEAKERS selector is not set
properly.
The output audio source setting on the
connected component is not PCM.
The automatic power down function has
activated.
Incorrect cable connections.
Incorrect setting for the BALANCE
control.
The + and – wires are connected in
reverse at the amplifier or the speakers.
Incorrect cable connections.
No connection from the turntable to the
GND terminal.
The component connected to the LINE 2
REC or LINE 3 REC jacks of this unit is
turned off.
This unit is turned off or is in standby
mode.
Sound is muted.
The loudness control function is
operating.
The turntable is connected to the jacks
other than the PHONO jacks.
The record is being played on a turntable
with an MC cartridge.
The CD DIRECT function or the PURE
DIRECT function is turned on.
Remedy
Turn the component on and start playback.
Select an appropriate input source with the INPUT
selector on the front panel (or one of the Input
selector buttons on the remote control).
Set the corresponding SPEAKERS selector to A, B or
A+B BI-WIRING position.
Only PCM audio sources can be played via the
DIGITAL (OPTICAL/COAXIAL) jacks of this unit.
Set the output audio source of the connected
component to PCM.
Confirm that there are no other issues causing this
problem, and then turn this unit on again.
To turn off the AUTO POWER STANDBY function,
set the AUTO POWER STANDBY switch to OFF on
the rear panel.
Connect the cables properly. If the problem persists,
the cables may be defective.
Set the BALANCE control to the appropriate
position.
Connect the speaker wires to the correct + and –
phase.
Connect the audio plugs firmly. If the problem
persists, the cables may be defective.
Make the GND connection between the turntable and
this unit.
Turn on the power of the component.
Turn on the power of this unit.
Press MUTE on the remote control or rotate the
VOLUME control.
Turn down the volume, set the LOUDNESS control
to the FLAT position, and then adjust the volume
again.
Connect the turntable to the PHONO jacks.
Use a turntable equipped with an MM cartridge.
The CD DIRECT function or the PURE DIRECT
function must be turned off to use those controls.
See
page
11
11
11
16
4
9
3
10
9, 10
9
—
—
7
12
9
9
12
