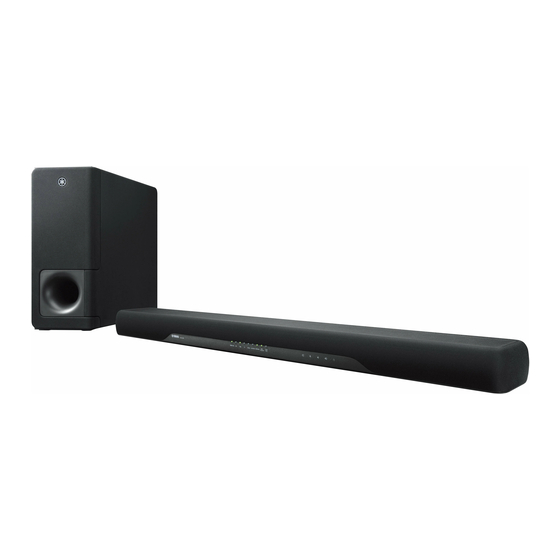
Yamaha ATS-CU2070 Instrukcja serwisowa - Strona 25
Przeglądaj online lub pobierz pdf Instrukcja serwisowa dla System głośników Yamaha ATS-CU2070. Yamaha ATS-CU2070 50 stron. Front surround system
Również dla Yamaha ATS-CU2070: Instrukcja obsługi (46 strony)

4. Removal of AMP P.C.B. (Fig. 4)
a. Remove 4 screws ( ③ ).
b. Remove CON2.
c. Remove the AMP P.C.B. together with the P.C.B. support.
5. Removal of Power Supply Unit (Fig. 4)
a. Remove 4 screws ( ④ ).
b. Remove the solder of the L/N connector and disconnect
2 cables.
c. Remove the power supply unit.
6. Removal of SUB (AC) P.C.B. (Fig. 4)
a. Remove 2 screws ( ⑤ ).
b. Remove the SUB (AC) P.C.B.
SUB (AC) P.C.B.
⑤
L/N
Power supply unit
電源ユニッ ト
③
③
Fig. 4
YAS-CU207/ATS-CU2070/NS-WSW42
4. AMP P.C.B. の外し方(Fig. 4)
a. ③ のネジ 4 本を外します。
b. CON2 を外します。
c. AMP P.C.B. を P.C.B. サポートと一緒に外します。
5. 電源ユニットの外し方(Fig. 4)
a. ④ のネジ 4 本を外します。
b. L/N 端子の半田を取り除き、ケーブル 2 本を外します。
c. 電源ユニットを外します。
6. SUB(AC)P.C.B. の外し方(Fig. 4)
a. ⑤ のネジ 2 本を外します。
b. SUB(AC)P.C.B. を外します。
④
CON2
P.C.B. support
P.C.B. サポー ト
AMP P.C.B.
25
