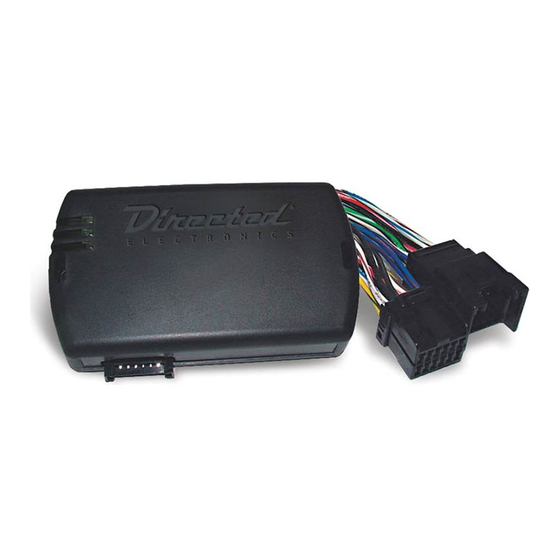
Directed XPRESSKIT optimax Series Instrukcja instalacji - Strona 10
Przeglądaj online lub pobierz pdf Instrukcja instalacji dla Akcesoria samochodowe Directed XPRESSKIT optimax Series. Directed XPRESSKIT optimax Series 12 stron.

PROGRAMMING | PROGRAMMATION
1
7
ON
The Red
Insert
LED is
connector 2
ON.
(16 pin).
La DEL
Insérez le
Rouge est
connecteur 2
allumée.
(16 pins).
10
Turn the Ignition to
the OFF position
continues to flash
and remove the
key.
Tournez la clef à
La DEL Rouge
OFF et retirez la
continue de clignoter
clé.
10
REMOTE CAR STARTERS AND ALARM INTERFACE
8
Insert the 4 pin
(D2D) connector
(if required)
Insérez le
connecteur 4
pins (D2D) si
requis.
11
With OEM
remote
Avec Télécommande
d'origine
Flash
The Red LED
Press the LOCK
button on the
rapidly:
vehicles OEM
remote.
Appuyez sur le
bouton Verrouillage
rapidement:
de la télécommande
d'origine du
véhicule.
Flash
Turn the
The Red LED
Ignition to the
start to flash
ON/RUN
rapidly
position.
Tournez la
La DEL Rouge
clef en
clignote
position
rapidement
ignition
(ON).
Without OEM
Or | Ou
remote
Sans Télécommande
d'origine
Press and release
the programming
button on the
CHALL once.
Appuyez et
relâchez le bouton
de programmation
du module CHALL.
CHALL
9
Vehicles with OEM alarm
Véhicule avec alarme d'origine
Or | Ou
Press the unlock
button on the
Purple/White wire
remote car starter
remote control.
connector for 1
Appuyez sur le
bouton
Mettez à la masse
Déverrouillage de
le fil Mauve/Blanc
la télécommande
du connecteur 16
du démarreur.
This option will unlock and lock the doors
before start | Cette option va déverrouiller
et verrouiller avant le démarrage.
off
The LED will turn off.
La DEL s'éteint.
Purple/White
1 sec.
Ground the
of the 16-pin
second.
pins pour 1
seconde.
The module is
now
programmed.
Le module est
programmé.
