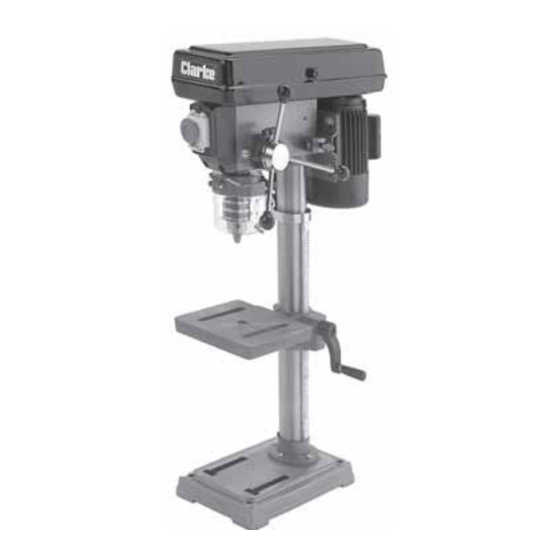
Clarke CDP10B Instrukcja obsługi i konserwacji - Strona 10
Przeglądaj online lub pobierz pdf Instrukcja obsługi i konserwacji dla Elektronarzędzie Clarke CDP10B. Clarke CDP10B 19 stron. 12 speed drill press

C.
Head to Column.
NOTE: It may be necessary to unscrew the Head Lock
Set Screws (A fig.4), to ensure they do not protrude
internally, as this would prevent the head from sliding
fully into position.
1. With assistance, raise the Head, and locate it on
top of the Column, ensuring it slides home fully.
2. Align the head with the base, and tighten down the
Head Lock Set Screws using the wrench provided.
3. Locate the three feed handles, and screw them firmly
into the hub of the feed shaft as shown in Fig.6
D.Chuck Guard Assembly
Slide the Chuck Guard over the Quill Shaft and nip up
the pinch bolt, temporarily, with the pinch bolt facing
the front (see A, fig.5). Ensure the Quill Shaft/Spindle is
at the top of its travel.
NOTE: This operation should be carried out before the
chuck is installed.
E. Installing the Chuck.
1. Slide the work table up the column to within 6" of
the spindle.
2. Open the jaws of the chuck to their maximum,
using the chuck key supplied.
3. Put a piece of scrap wood on to the table to
protect the chuck nose.
4. Ensuring all parts are thoroughly clean, dry, and
burr free, place the chuck over the end of the
spindle, and pull the spindle down using the feed
handles, pressing the chuck hard against the
piece of scrap wood until the chuck is forced
home. Remove the wood.
5. Slacken the chuck guard pinch bolt and turn the
chuck guard so the pinch bolt is towards the
rear and tighten the pinch bolt.
F. Belt Tension
Slacken the two belt tension locking screws (A Fig.6),
then lever the motor, on its bracket, away from the
head, so that tension is applied to the belt.
Tension is correct when the belt deflects by approx. ½" at the centre of its run when using
reasonable thumb pressure.
Lock the motor in this position by tightening the two locking screws (A).
NOTE: If the belt should slip whilst drilling, adjust the belt tension.
When closing the cover, check the operation of the Microswitch. It is important that it
operates immediately the cover is pulled open, in order to prevent the machine from
operating........NOT when the cover is opened sufficiently for fingers to be inserted.
If necessary, bend the actuating tab, which is attached to the cover, to ensure this.
CHECKING THE OPERATION OF THE MICROSWITCH
IMPORTANT:
Fig. 4
Fig. 5
Fig. 6
10
