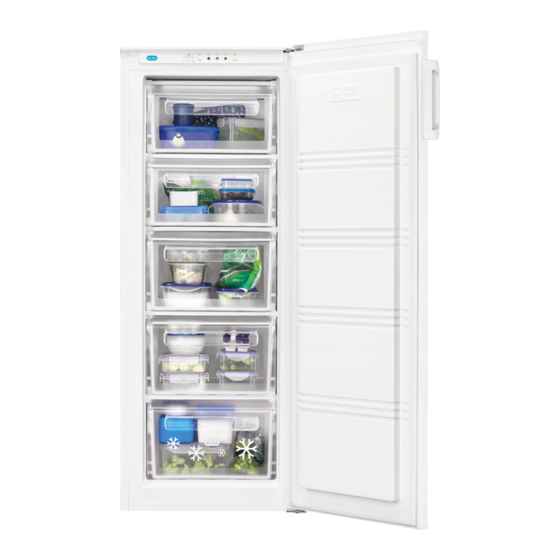
Zanussi ZFP19500WA Podręcznik użytkownika - Strona 27
Przeglądaj online lub pobierz pdf Podręcznik użytkownika dla Zamrażarka Zanussi ZFP19500WA. Zanussi ZFP19500WA 40 stron.
Również dla Zanussi ZFP19500WA: Podręcznik użytkownika (30 strony)

What to do if...
Warning!
Before troubleshooting, disconnect the
power supply. Only a qualified electrician
or competent person must do the trouble-
shooting that is not in this manual.
Problem
Appliance
does not work.
Appliance
freezes too
much.
The food is not
frozen enough.
Heavy build-up
of frost on the
door seal.
Unusual
noises.
www.zanussi.com
Possible cause
Appliance is not switched on.
Mains plug is not plugged in or is
loose.
Fuse has blown or is defective.
Socket is defective.
Temperature is set too cold or
the appliance is running in Super
Freeze mode.
Temperature is not properly adjust-
ed.
Door was open for an extended
period.
A large quantity of warm food was
placed in the appliance within the
last 24 hours.
The appliance is near a heat
source.
Door seal is not air-tight.
Appliance is not level.
The appliance is touching the wall
or other objects.
A component, e.g. a pipe, on the
rear of the appliance is touching
another part of the appliance or
the wall.
Important! There are some sounds during nor-
mal use (compressor, refrigerant circulation).
Switch on the appliance.
Insert mains plug.
Check fuse, replace if necessary.
Mains malfunctions are to be corrected by
an electrician.
Turn the temperature regulator to a warm-
er setting temporarily or press the "Super
freeze" button to stop Super freeze mode.
Please look in the initial Control Panel
section.
Open the door only as long as necessary.
Turn the temperature regulation to a cold-
er setting temporarily.
Please look in the installation location
section.
Carefully warm the leaking sections of the
door seal with a hair dryer (on a cool set-
ting). At the same time shape the warmed
door seal by hand so that it sits correctly.
Re-adjust the feet.
Move the appliance slightly.
If necessary, carefully bend the compo-
nent out of the way.
Solution
27
EN
