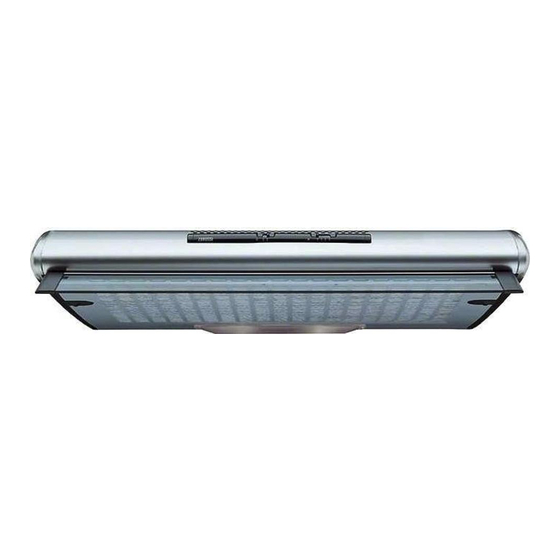
Zanussi ZHT610X UK Podręcznik użytkownika - Strona 2
Przeglądaj online lub pobierz pdf Podręcznik użytkownika dla Okap wentylacyjny Zanussi ZHT610X UK. Zanussi ZHT610X UK 17 stron.
Również dla Zanussi ZHT610X UK: Instrukcja instalacji (16 strony)

Thank you for buying a Zanussi product.
To enable you to use your appliance effectively and safely, please read this instruction book carefully before using the
appliance and retain for future reference. If you require guidance in the use of the appliance or require further informa-
tion on Zanussi Products, please contact our Customer Services Department. For general enquiries concerning your
Zanussi appliance or for further information, visit our website at http:\\www.zanussi.co.uk
* calls to this number may be recorded for training purposes.
To register ownership, please ensure you complete and return the guarantee card supplied with the appliance.
For the User
Important Safety Information
Your Appliance
Operating Instructions
Cooker Hood Controls
To Operate
Extraction mode
Recirculation
Maintenance and Cleaning
External Cleaning
Synthetic Paper Grease Filter
To Replace the Synthetic Paper Grease Filter
Charcoal Filter (Optional Extra)
To Remove the Charcoal Filter
Changing the Light Bulb
Something Not Working
Service and Spare Parts
Guarantee Conditions
The following Symbols will be found in the text to guide you through the instruction book
Customer Services Department
Major Appliances
Zanussi
Addington Way
Luton
Bedfordshire
LU4 9QQ
Guide to use the instruction book
Safety instructions
Tel:
08705 727 727*
For the Installer
Installation Instructions
Technical Information
Electrical Connections
Electrical Requirements
Electrical Connection
Installing the Cooker Hood
Installation Requirements
Ducting
Clearance Height
Unpacking
Fitting the Wall Brackets
Venting
To Fit the Ducting
Recirculation
Fitting the Cooker Hood to the Wall
Decor Panel
Fitting a Decor Panel to the Hood Visor
To Refit the Hood With Decor Panel Attached
Adjustment
Step by step instructions
2
