Directed Xpresskit DBALL2 Instrukcja instalacji - Strona 3

Przeglądaj online lub pobierz pdf Instrukcja instalacji dla Przez blokady Directed Xpresskit DBALL2. Directed Xpresskit DBALL2 19 stron. Ford5 remote start ready (rsr) installation
Również dla Directed Xpresskit DBALL2: Instrukcja instalacji (12 strony), Instrukcja instalacji (18 strony), Podręcznik (14 strony), Instrukcja instalacji (13 strony), Instrukcja instalacji (14 strony), Instrukcja instalacji (19 strony), Instrukcja instalacji (16 strony), Instrukcja instalacji (20 strony), Instrukcja instalacji (15 strony), Instalacja i skrócona instrukcja obsługi (16 strony), Instrukcja instalacji (18 strony), Instrukcja instalacji (16 strony), Instrukcja instalacji (18 strony), Instrukcja instalacji (16 strony), Podręcznik (19 strony)
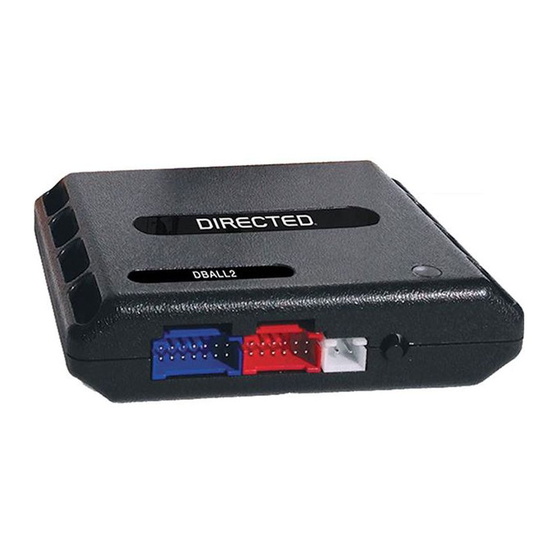
Directed Xpresskit DBALL2 Instrukcja instalacji
Platform: DBALL2
Firmware: HYUNDAI4 Remote Start Ready (RSR) Installation
Installation Type 1
Refer to the Vehicle Wiring Reference Chart on page 4 for wire color and component location.
(-) PTS 1:
Orange/Black, pin 3
3
1
2
4 5
M04
(black conn. at
PTS switch)
16
15
14
13
12
(-) PTS 2:
Yellow/Orange,
pin 2

M01-L

(white conn. at headlight switch)
1
2
3
4
5
6
7
8
9
10
11
12
13
14
15
16
(-) Parking Lights:
Pink, pin 15
(+) Starter:
Pink, pin 11
(+) Accessory:
Yellow, pin 3
(+) Ignition:
Green, pin 21
Tach wire is an optional connection required on some remote starters, which do not support a tach signal in D2D.
[1]
With the exception of the OBDII Diagnostic connector, all adapters are displayed from the wire side (unless specified otherwise).
6 7
8
11
10
9
HS CAN High: Tan/Black: 3
HS CAN Low: Tan: 4
FT CAN High: Orange/Green: 5
FT CAN Low: Orange/Brown: 6
(+) 12V: Brown: 7
Ignition 1 Output: Yellow: 8
(-) Ground: Black: 14
(-) Push-To-Start 1: Black/White: 1
(-) Push-To-Start 2: Green/Black: 2
(-) Parking Lights: Red/Black: 4
(+) Accessory Output: Gray: 6
(+) Starter Output: Gray/Black: 7
EMS COM Data: Orange/Black: 11
EMS COM:
White/Orange, pin 32
EM11
(black conn. in driver kick panel)
10
20
30
48
(+) 12V: Red: 13
RF
Prog. Button
LED
MF11
(white conn. in driver kick panel)
9 8 7 6
5 4 3 2
1
19 18 17 16 15 14 13 12
11
29 28 27 26 25
24
23
22
21
38 37 36 35 34
33
32
31
47 46 45 44 43
42 41
40
39
B-CAN Low:
Red, pin 33
B-CAN High:
Blue, pin 24
OBDII
1
Diagnostic
connector
9
C-CAN Low:
Orange, pin 14
Hood Pin
Note: hood pin only required
on vehicles not equipped with a
factory hood pin
Remote Start Safety
Override Switch
6: White/Black: (-) Hood
DBALL2
You can connect to either a XL202
RFTD OR a SmartStart module.
Refer to the SmartStart/XL202
Installation Notes for more information.
© 2016 Directed. All rights reserved.
Rev.: 20161207
Page 3
C-CAN High:
Green, pin 6
8
16
(+) 12V:
Gray/Black,
pin 16