Blackberry Radar H2 Instrukcja instalacji - Strona 23

Przeglądaj online lub pobierz pdf Instrukcja instalacji dla Radar Blackberry Radar H2. Blackberry Radar H2 28 stron. Dry van, insulated trailers roll-up doors
Również dla Blackberry Radar H2: Instrukcja instalacji (33 strony), Instrukcja instalacji (26 strony), Instrukcja instalacji (25 strony), Instrukcja instalacji (32 strony), Instrukcja instalacji (30 strony), Instrukcja instalacji (33 strony), Instrukcja instalacji (34 strony), Instrukcja instalacji (35 strony), Instrukcja obsługi (33 strony), Instrukcja instalacji (32 strony), Instrukcja instalacji (26 strony), Instrukcja instalacji (25 strony)
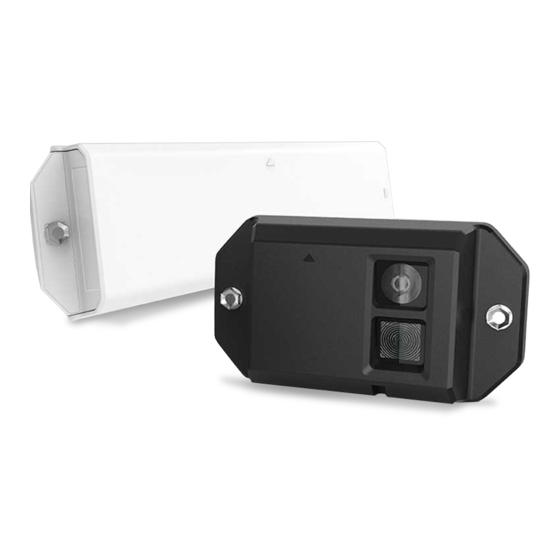
Blackberry Radar H2 Instrukcja instalacji
BLACKBERRY RADAR H2 ITC100-1, ITC100-2, ITF100-1 INSTALLATION GUIDE
Battery replacement
The BlackBerry Radar H2 batteries are designed to provide long life between battery
replacement intervals. When replacing your battery, we recommend the application of Silicone
Based O-Ring Lubricant to the O-Ring during each battery replacement cycle.
One tube of Silicone Based O-Ring Lubricant is included with each box of Replacement Batteries
ordered through BlackBerry. Each tube contains enough lubricant to service 10 devices.
Silicone O-ring Lubricant
1. Insert the replacement battery into the battery compartment.
2. Connect the battery cable to the battery connector. The LED will blink to indicate the
module is active. NOTE: It can take between 20-30 seconds for the blink sequence to
begin. Please be patient. Once you see the LED blink, continue to the next step.
IMPORTANT: When connecting the battery cable to the battery connector, do not
remove the Battery Connector Retaining Foam Retaining Tab or place the tab outside of
LED
FLATBED AND HEAVY EQUIPMENT
Silicone O-ring Lubricant
23