Blackberry Radar H2 Instrukcja instalacji - Strona 7

Przeglądaj online lub pobierz pdf Instrukcja instalacji dla Radar Blackberry Radar H2. Blackberry Radar H2 28 stron. Dry van, insulated trailers roll-up doors
Również dla Blackberry Radar H2: Instrukcja instalacji (33 strony), Instrukcja instalacji (26 strony), Instrukcja instalacji (25 strony), Instrukcja instalacji (32 strony), Instrukcja instalacji (30 strony), Instrukcja instalacji (33 strony), Instrukcja instalacji (34 strony), Instrukcja instalacji (35 strony), Instrukcja obsługi (33 strony), Instrukcja instalacji (32 strony), Instrukcja instalacji (26 strony), Instrukcja instalacji (25 strony)
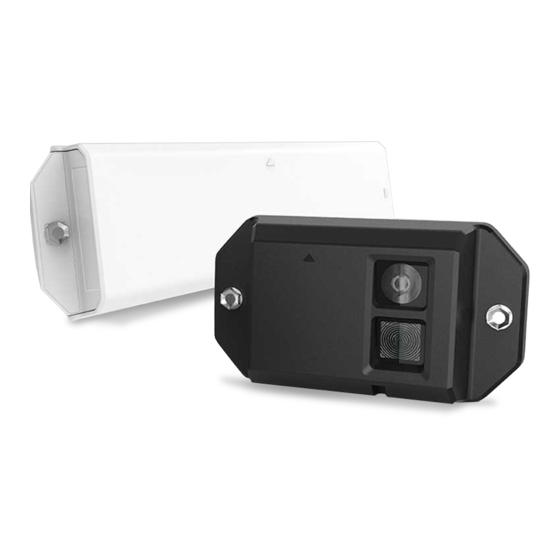
Blackberry Radar H2 Instrukcja instalacji
BLACKBERRY RADAR H2 ITC100-1, ITC100-2, ITF100-1 INSTALLATION GUIDE

3.2 Installation tools

Required tools to complete the installation:
Phillips (PH2) Screwdriver or Bit
Nut Driver or
Socket Wrench with Socket*
*Nut Driver + Drill offers fastest installation.
If no Nut Driver is available, a socket wrench
and socket may be used as a substitute.
Recommended tools to complete the installation:
T-Square
Pocket Level
Torque Screwdriver/Adapter
with Socket and Bits*
(scale range of 0.4 N-m to 4.5 N-m,
in-lb to 40 in-lb)
*To check compliance with torque
specifications for fasteners.
Drill and Drill Bits
Safety Glasses
Towel
Hammer and
Punch
70% Rubbing
File
Alcohol
4
FLATBED AND HEAVY EQUIPMENT
Tape
Pencil or
Non-Permanent Marker
Tape Measure
Wrench
*Required only if nuts and bolts are
used.
Ladders*
*Tall ladder for installation on taller vehicles
and containers. Small ladder for installation
inside of containers or the exterior of smaller
vehicles.
Cutting Lubricant*
(Recommended)
*Recommended for faster drilling speed on
thicker metals and longer drill bit life.
7